

inkOUT™ Aftercare: Your Healing Guide
You just took the first step toward freedom. Now let's make sure you get the best possible results.
The next few months are your commitment to new skin. Following this aftercare protocol carefully helps your skin heal properly and allows the tattoo ink to expel naturally. Your skin may take several months to regain its normal color and tolerate sun exposure - and that's completely normal.
We're here with you every step of the way.
Your inkOUT™ technician is your partner in this journey. You can reach out anytime with questions or concerns. Together, we'll make sure your healing goes smoothly and your results are everything you hoped for.
Immediate Post-Treatment Care (First Hour)
Immediate Post-Treatment Care (First Hour)
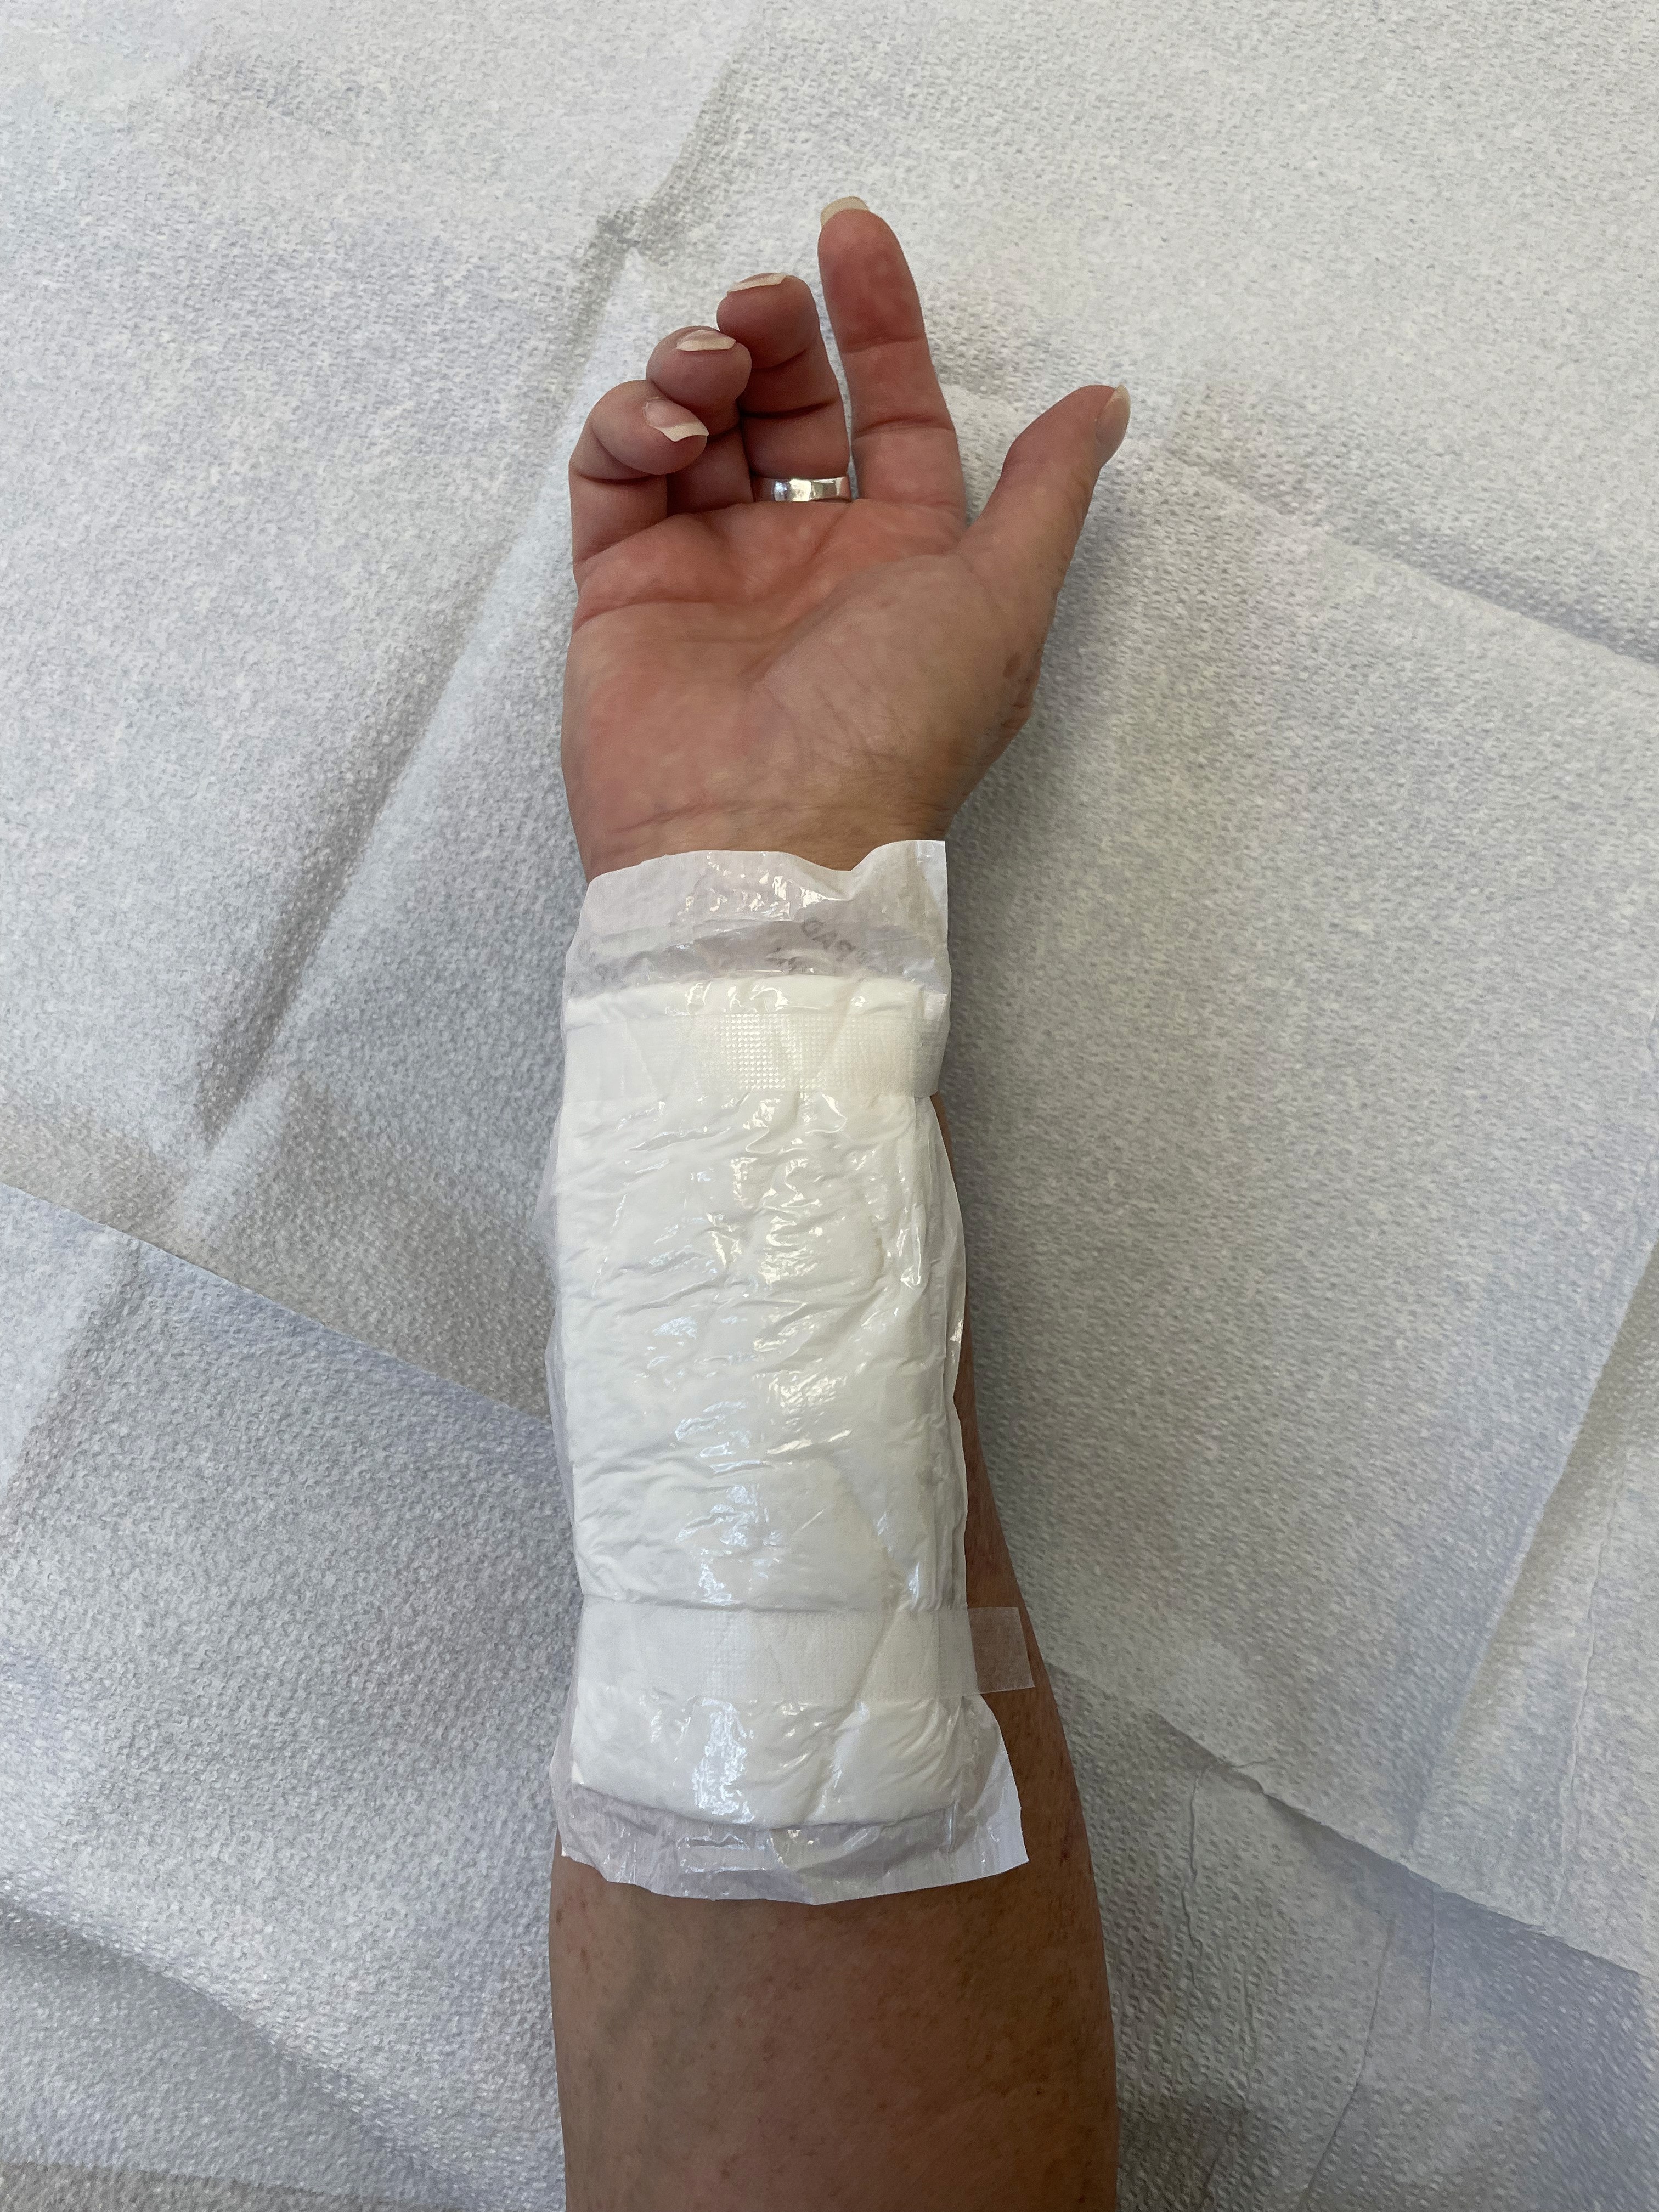
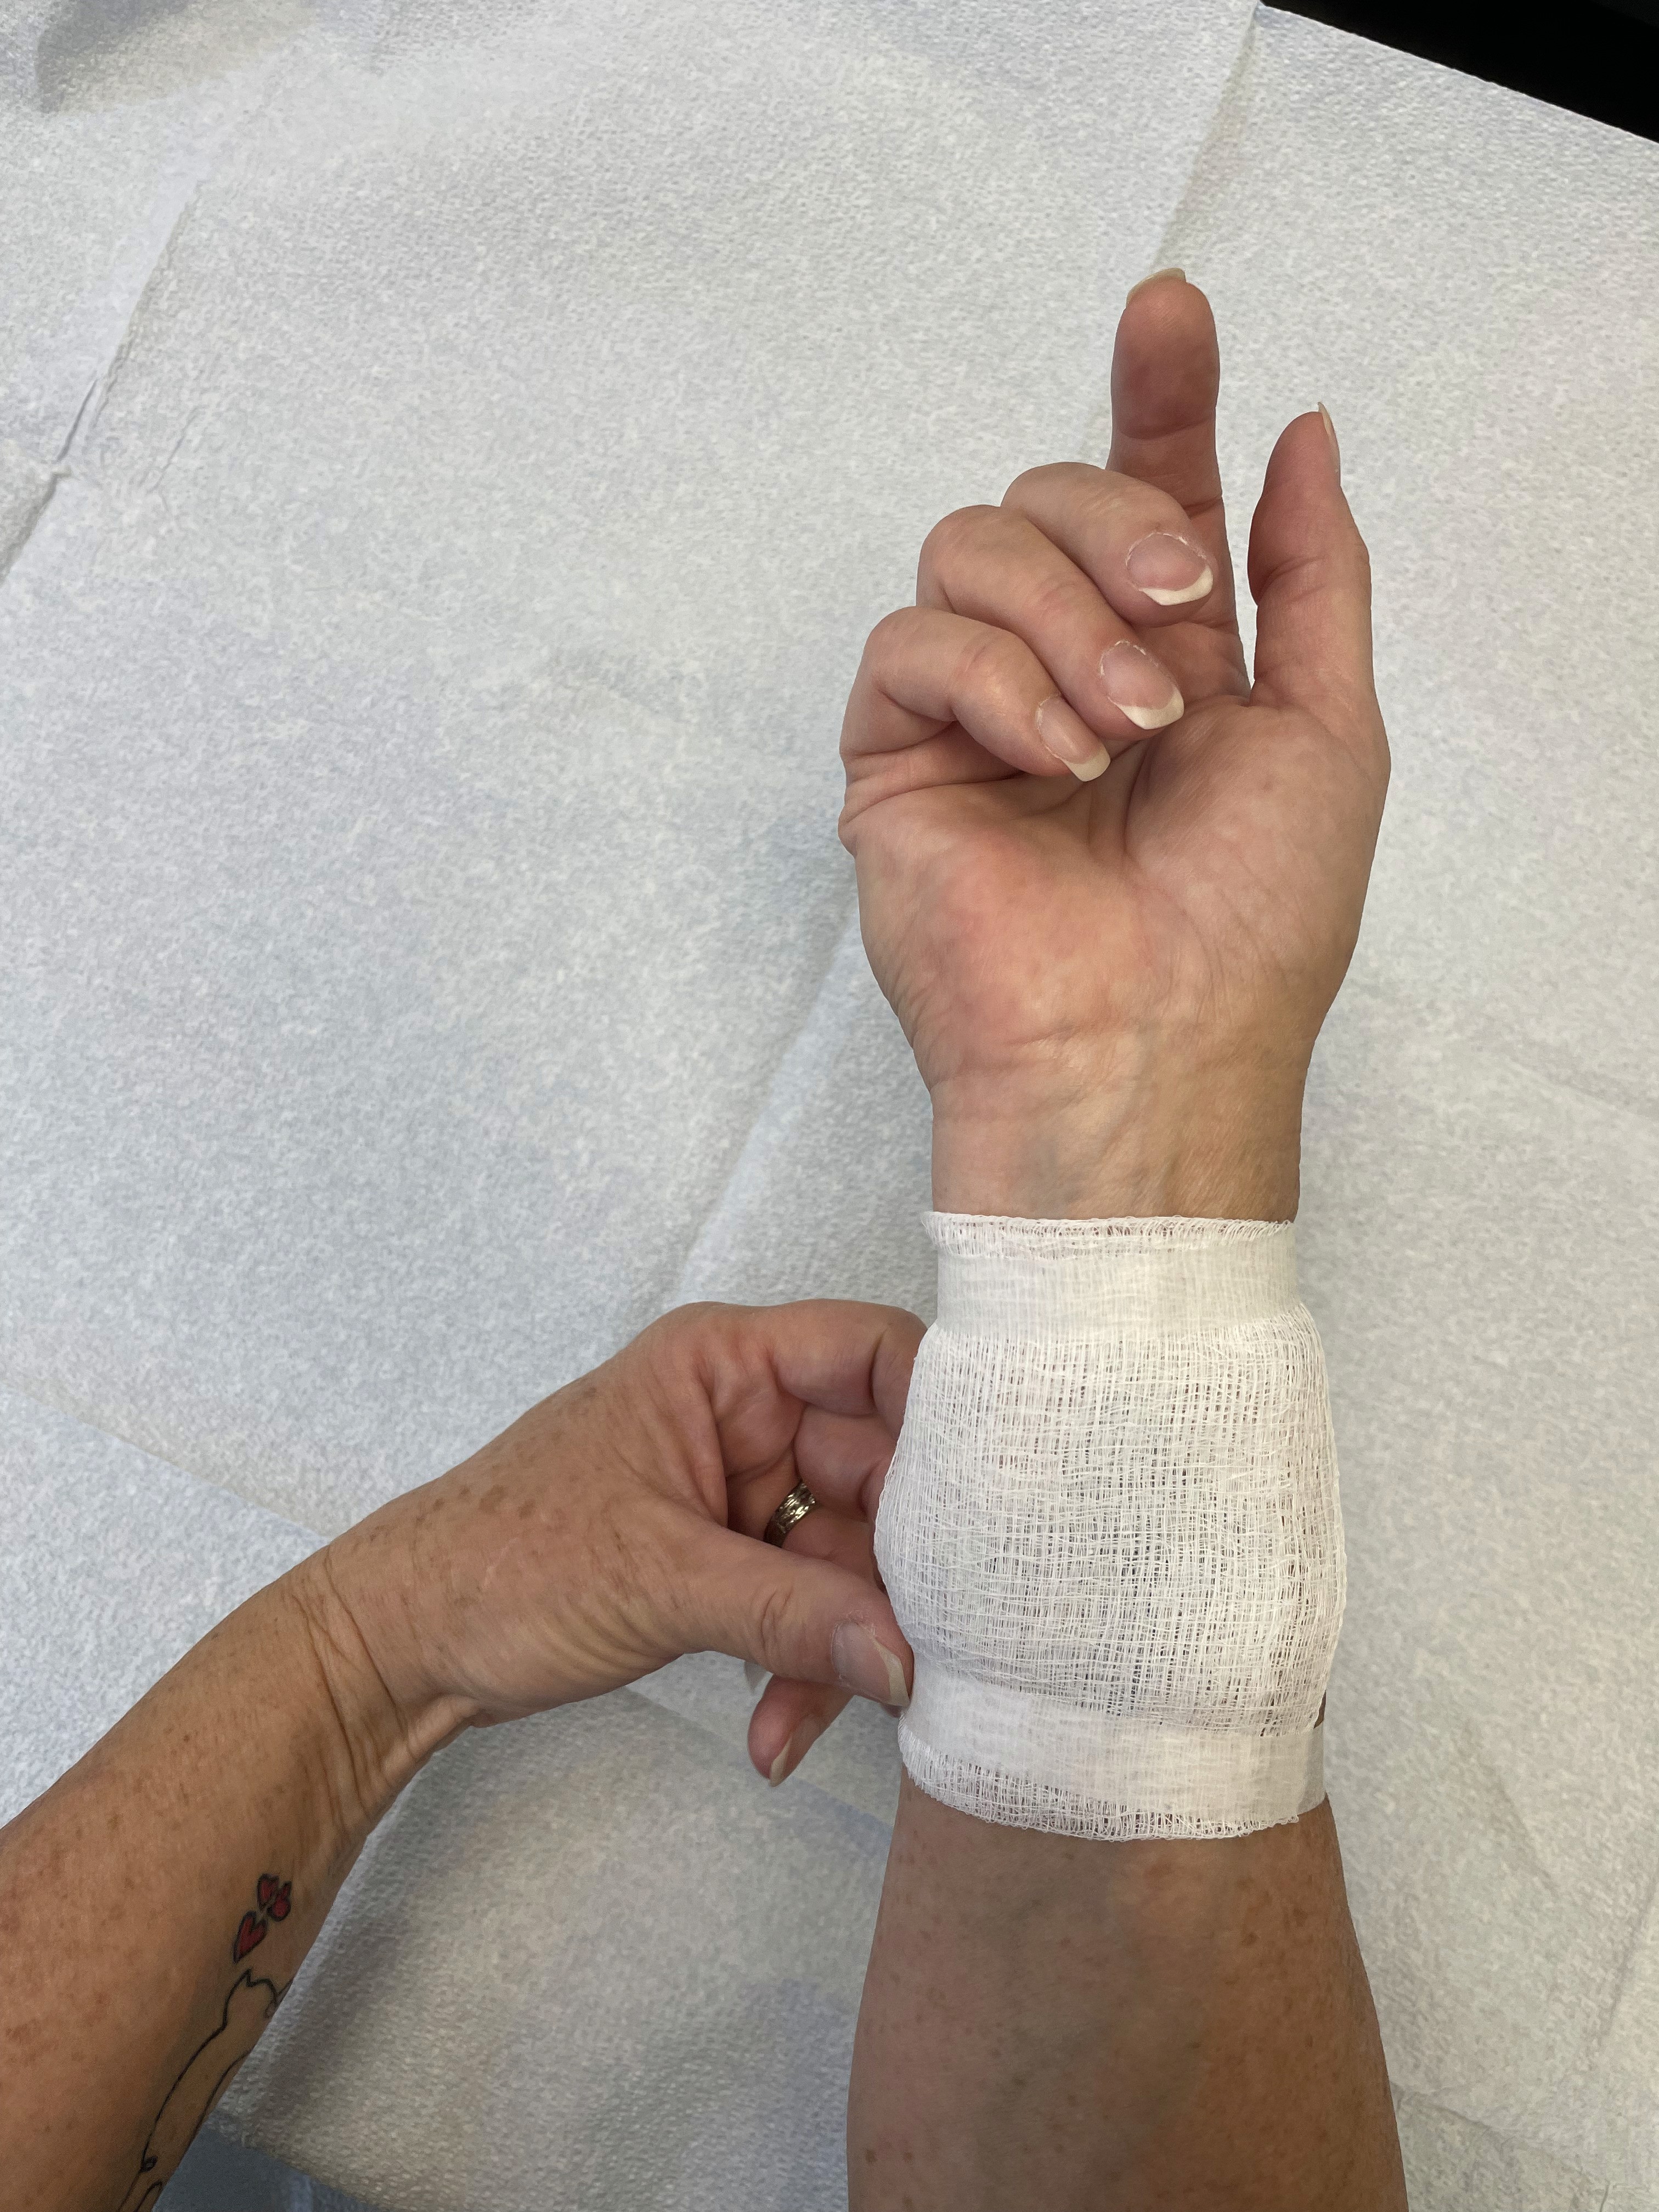
Day 1 Protocol:
Leave the non-stick bandage applied by your technician on for exactly 1 hour
After 1 hour, remove the non-stick bandage
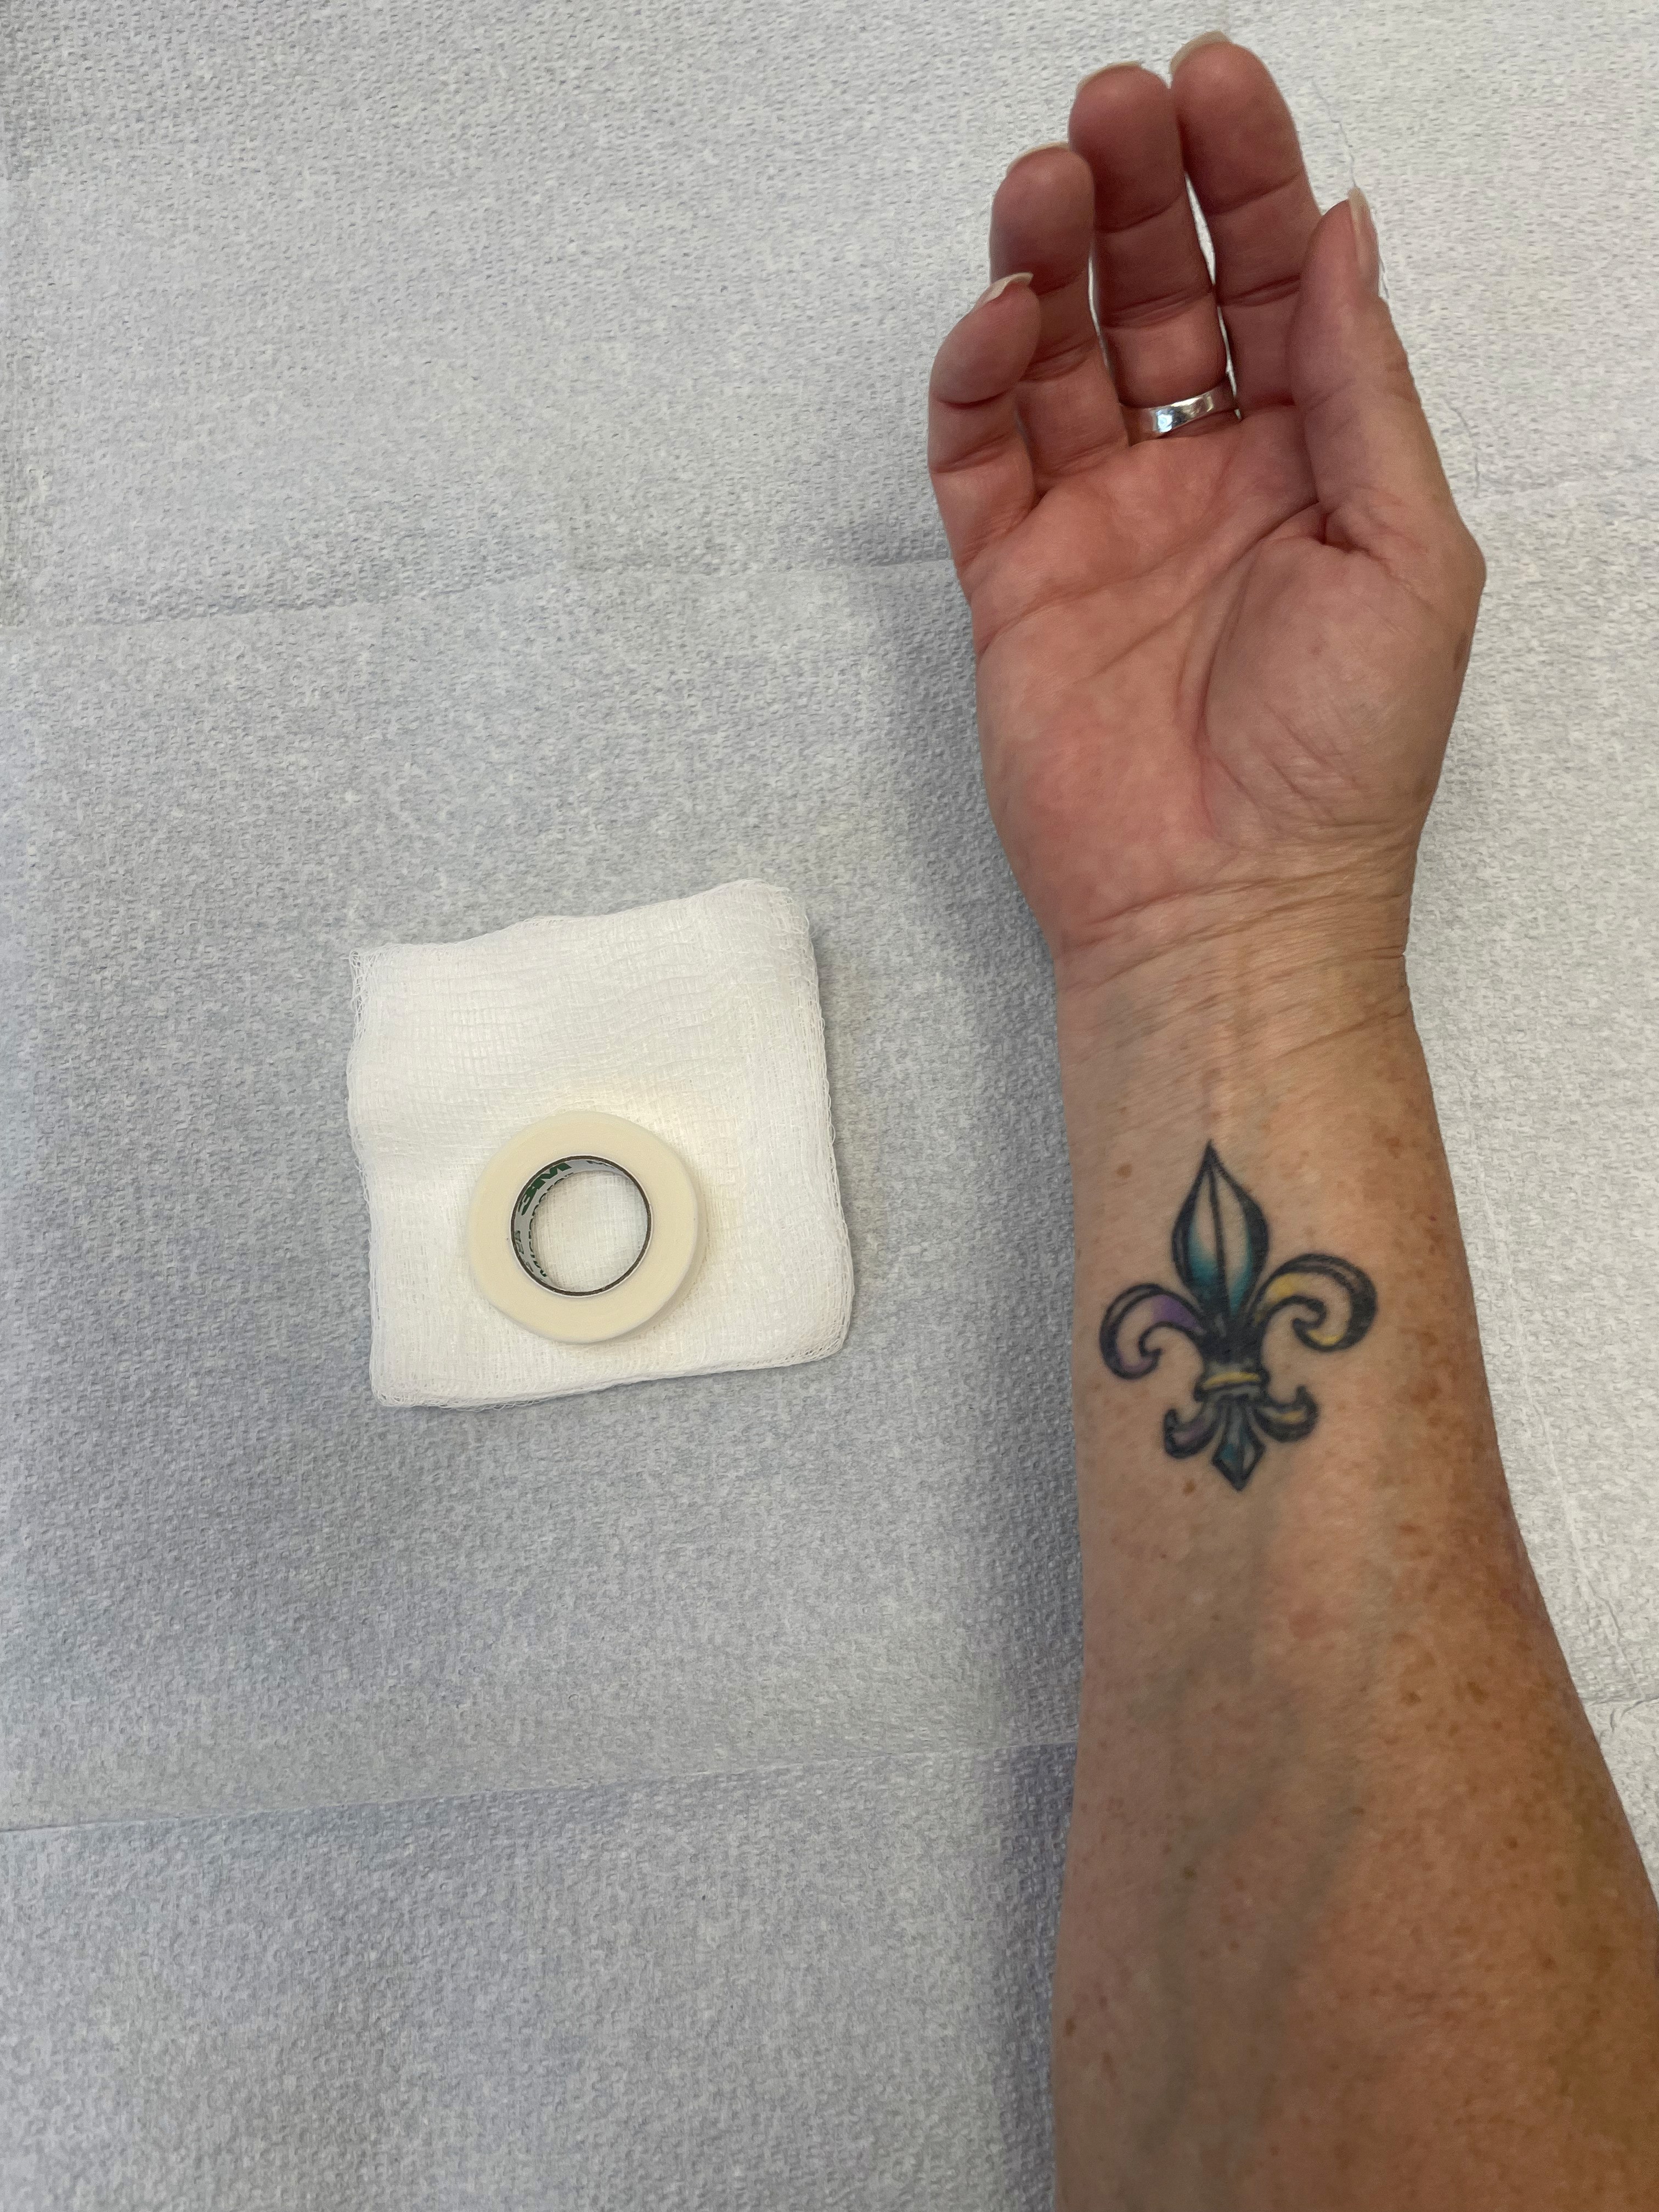
Replace with dry, loose weave gauze (specifically 4x4 surgical sponges)
Keep covered with gauze until crusting layer sloughs off
Change gauze at least once daily
Day 1 Protocol:
Leave the non-stick bandage applied by your technician on for exactly 1 hour
After 1 hour, remove the non-stick bandage
Replace with dry, loose weave gauze (specifically 4x4 surgical sponges)
Keep covered with gauze until crusting layer sloughs off
Change gauze at least once daily
The Healing Timeline: What to Expect
The Healing Timeline: What to Expect
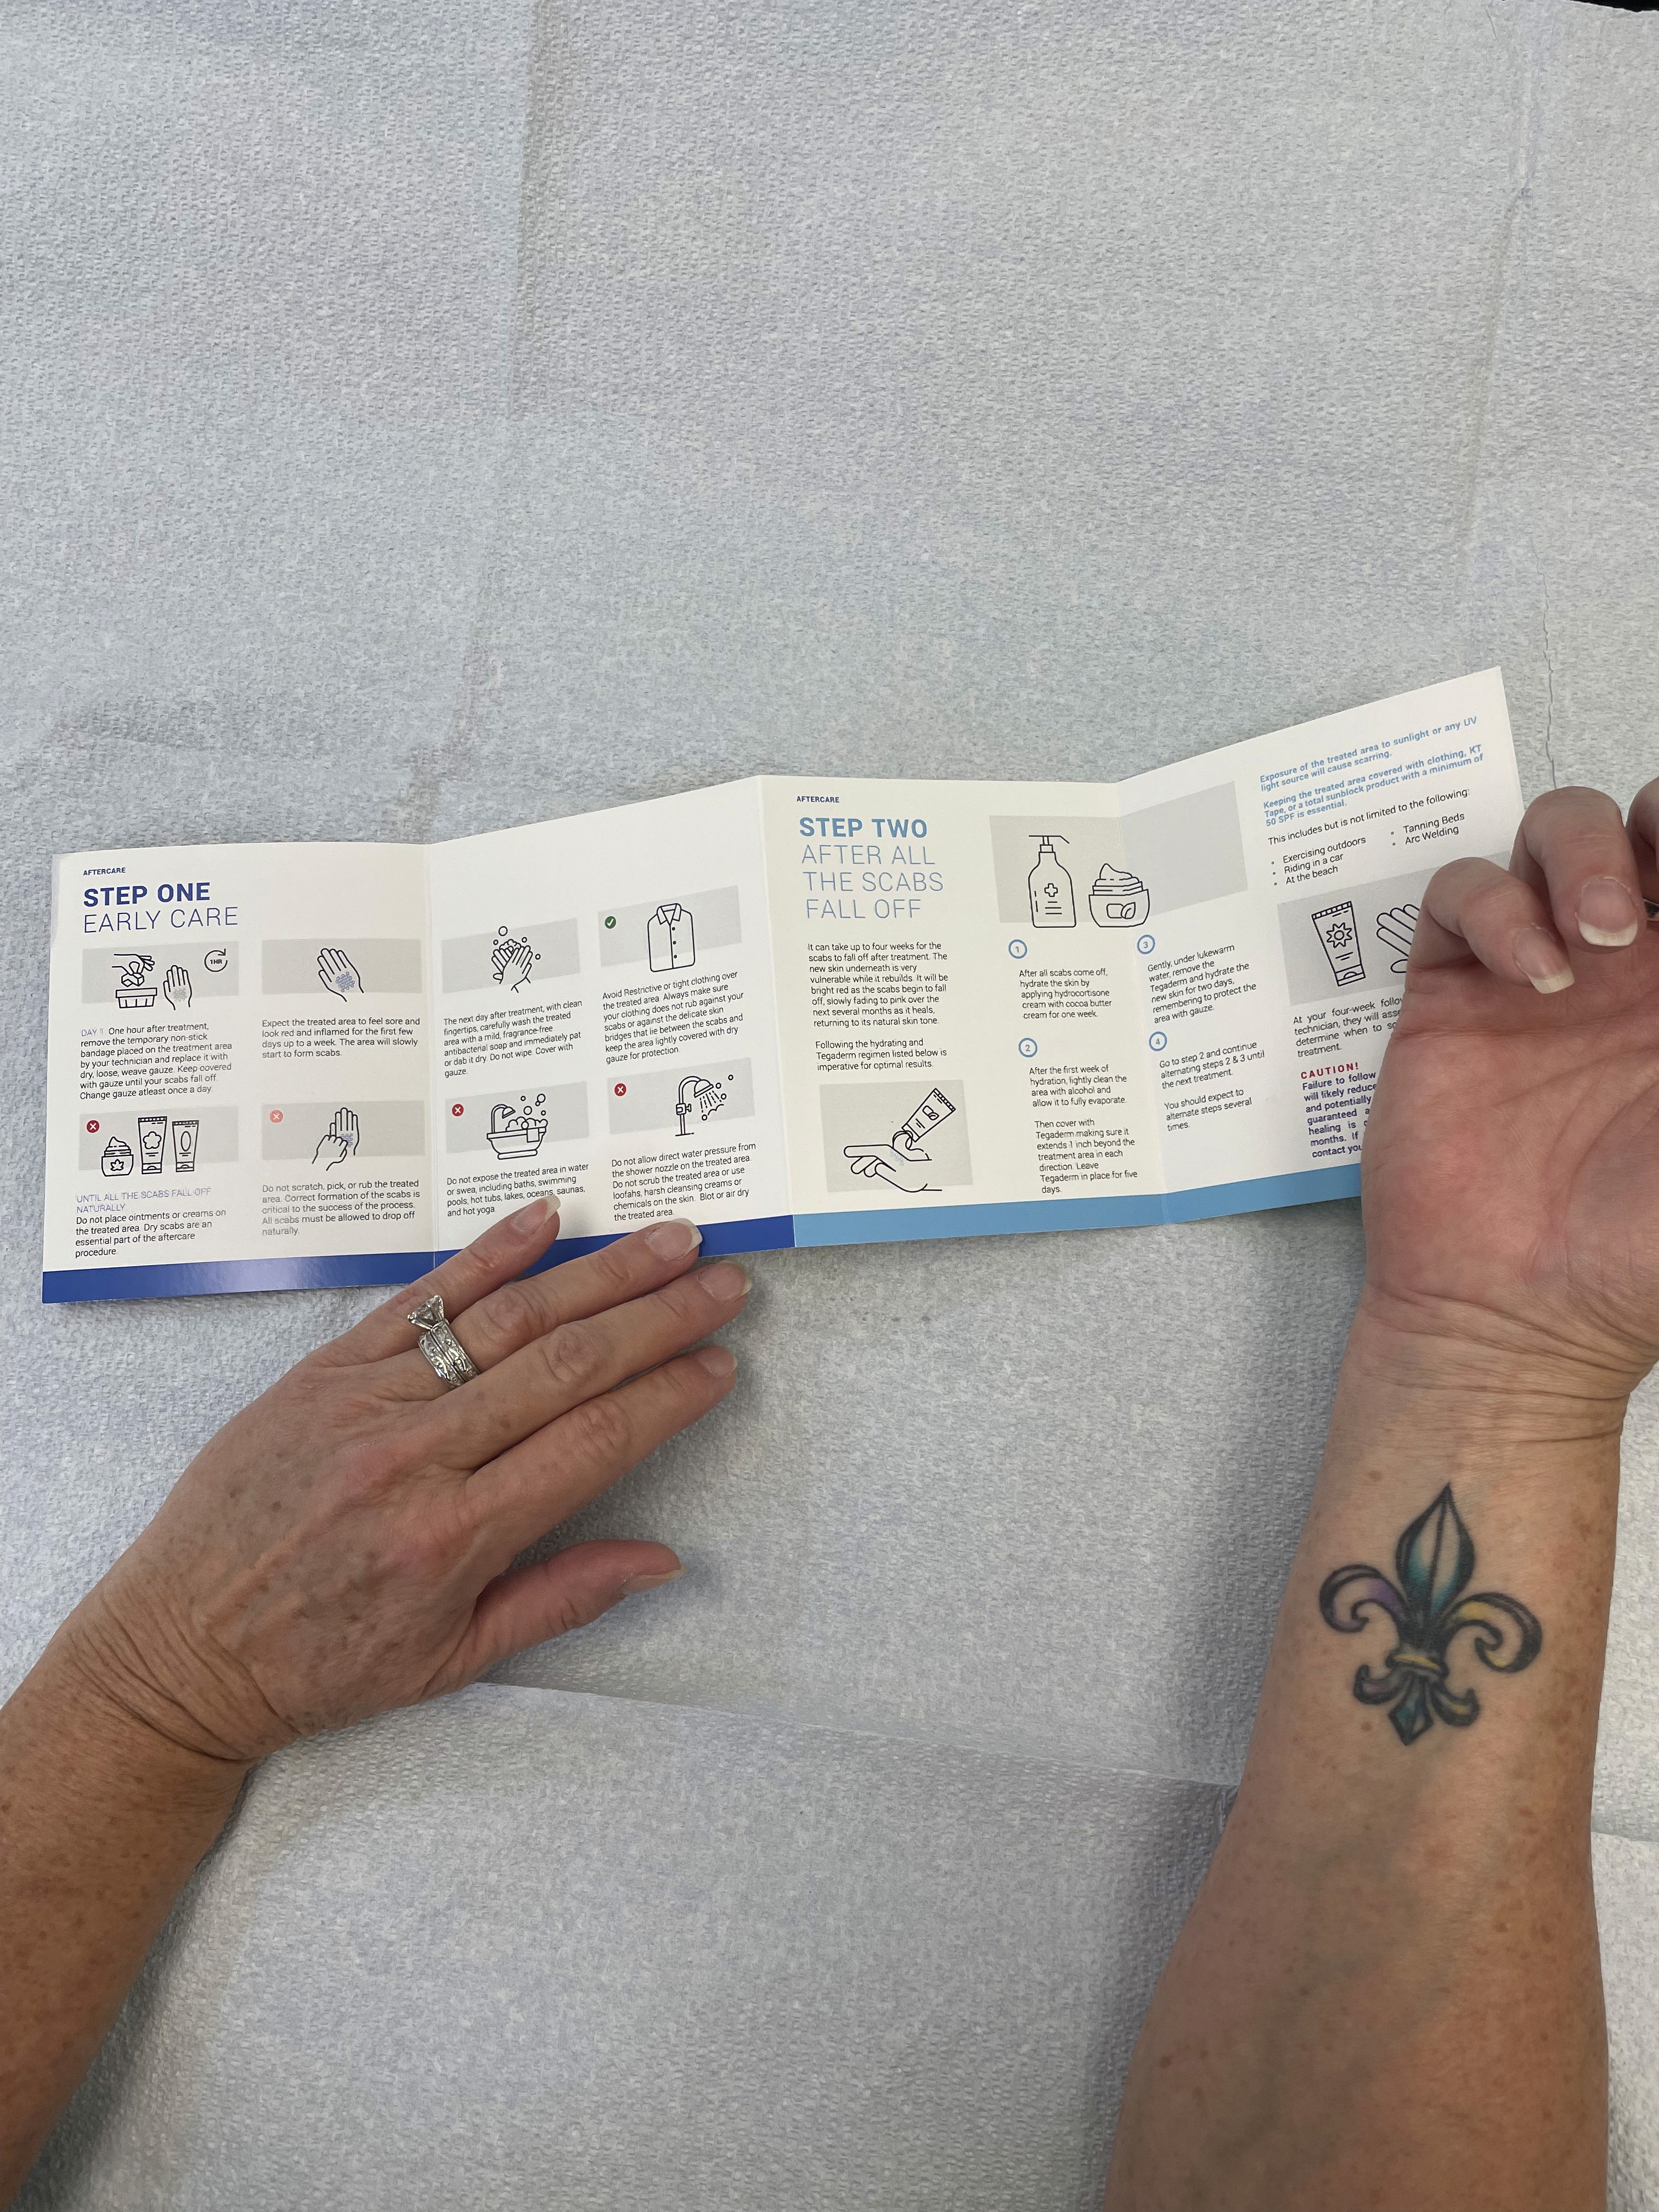
Phase 1: Crusting Phase (Days 1-14+ Until All Crusting Sloughs Off)
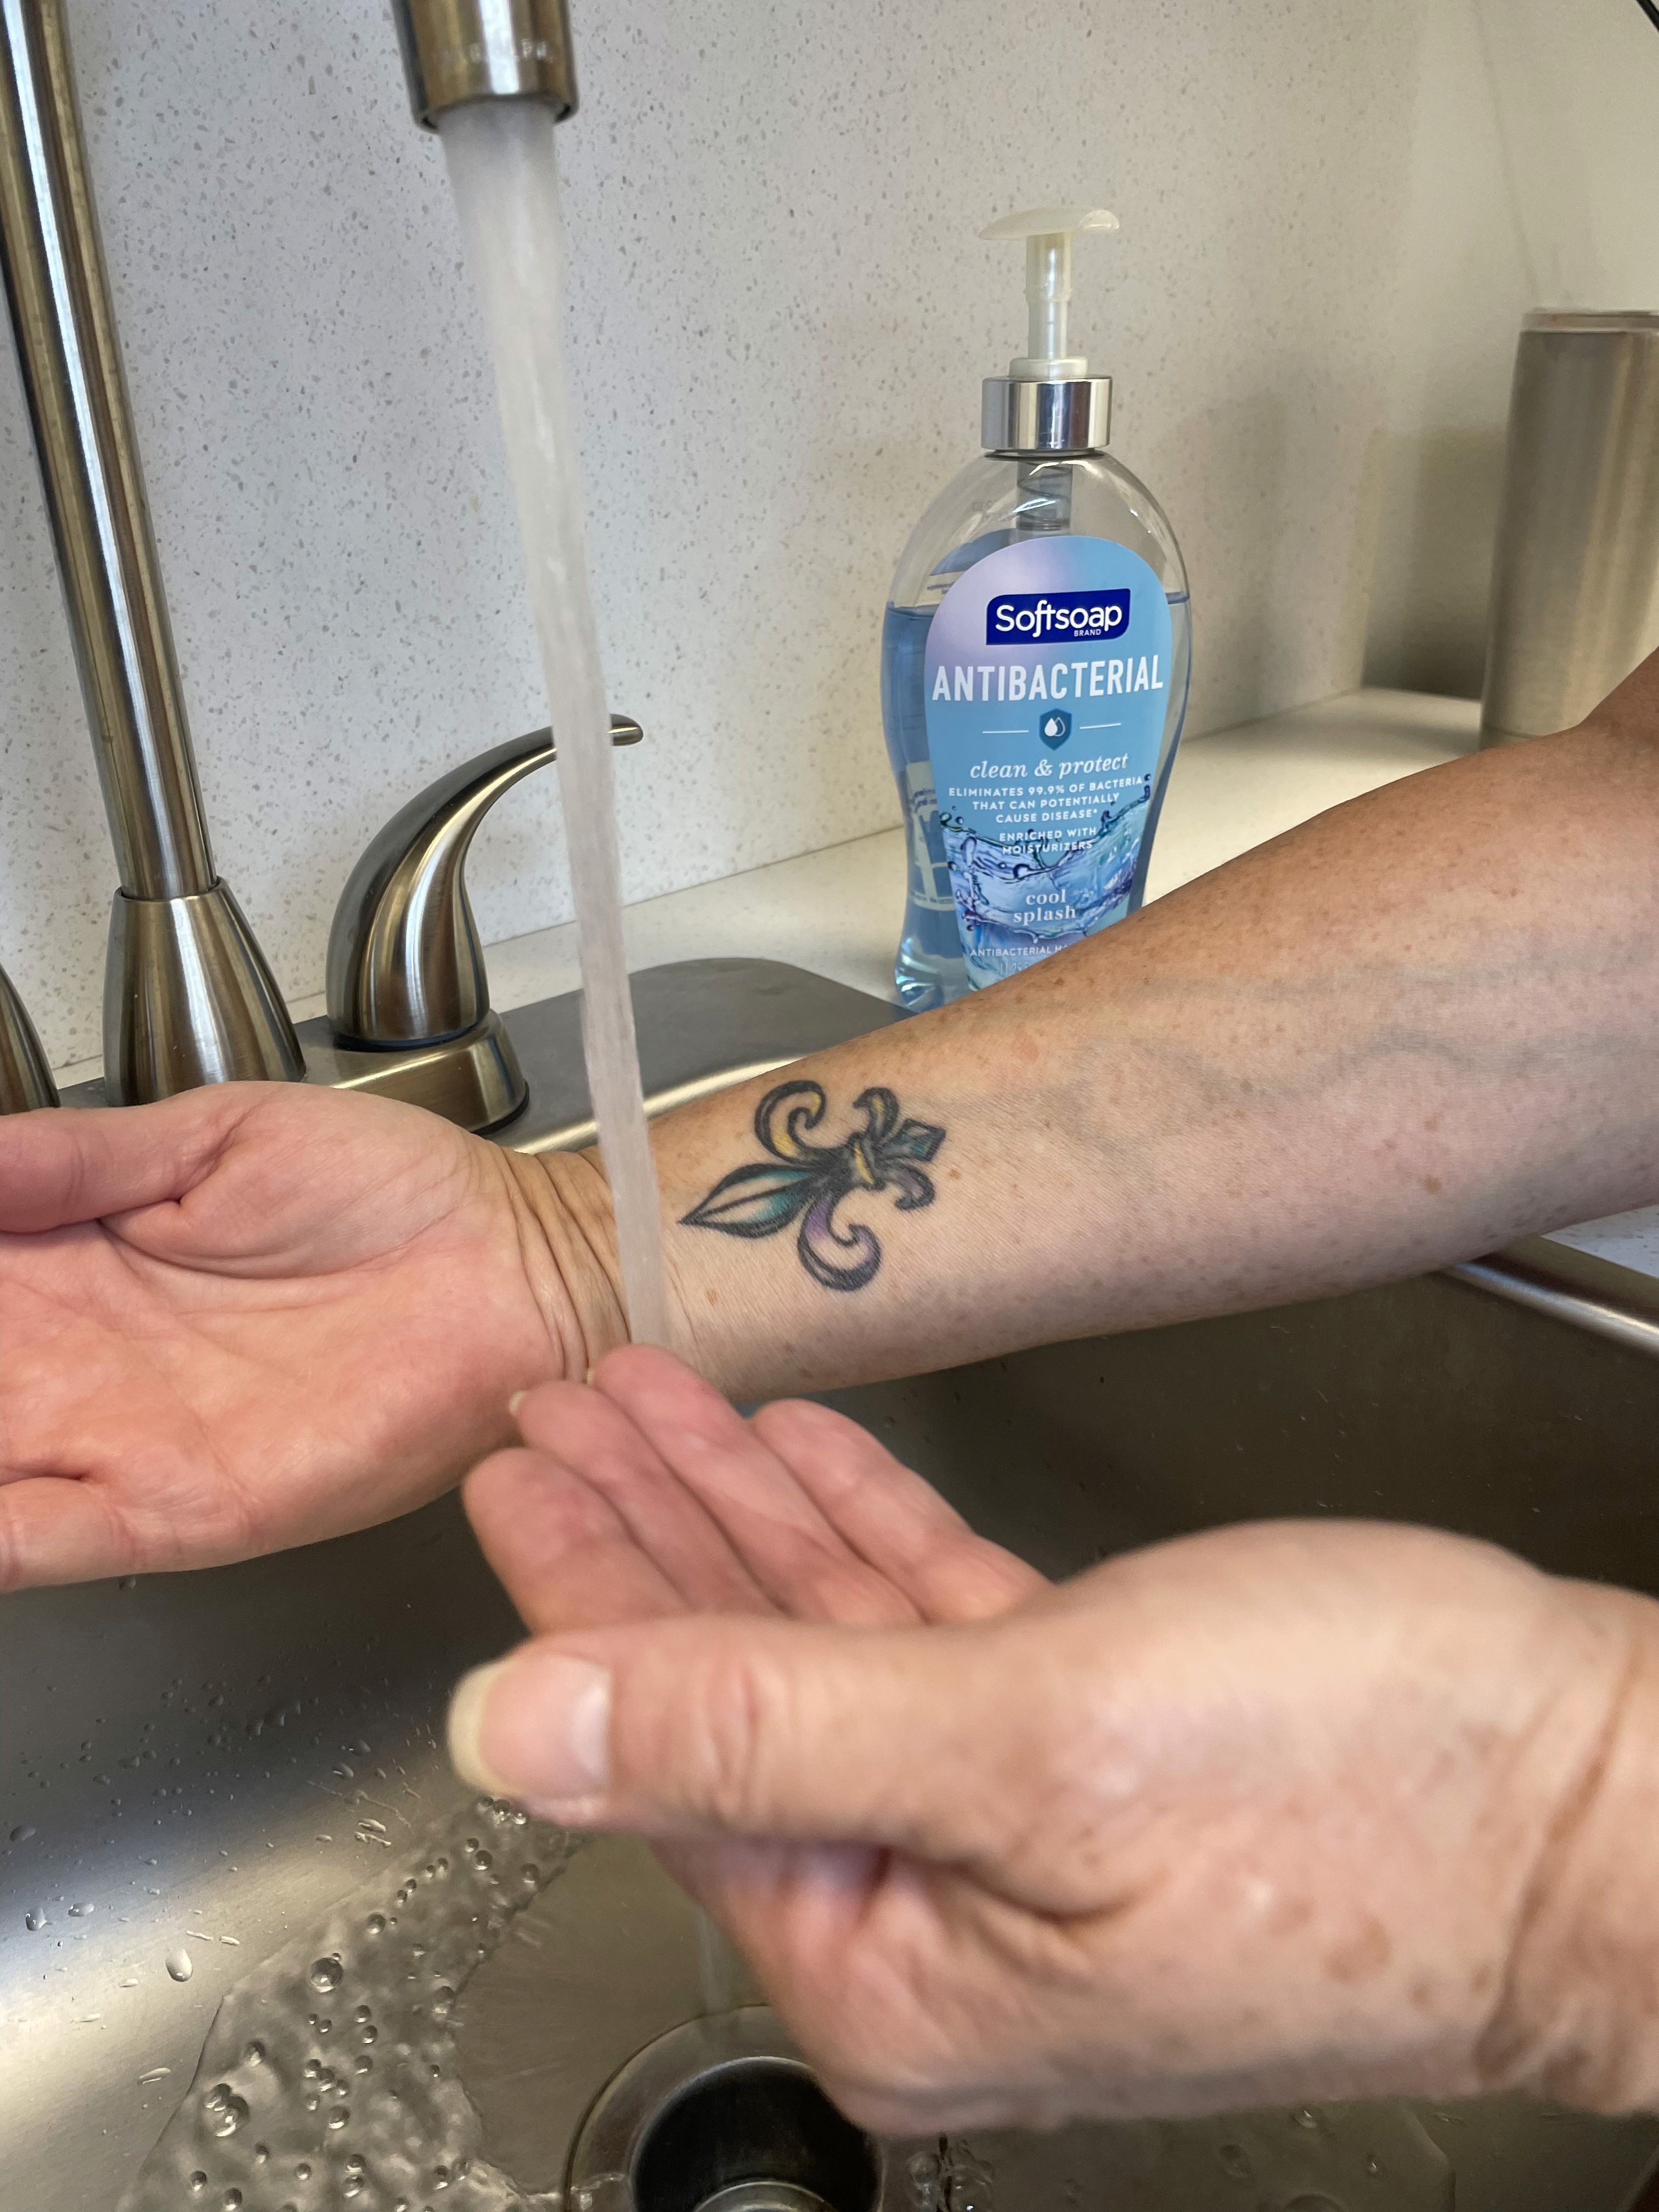
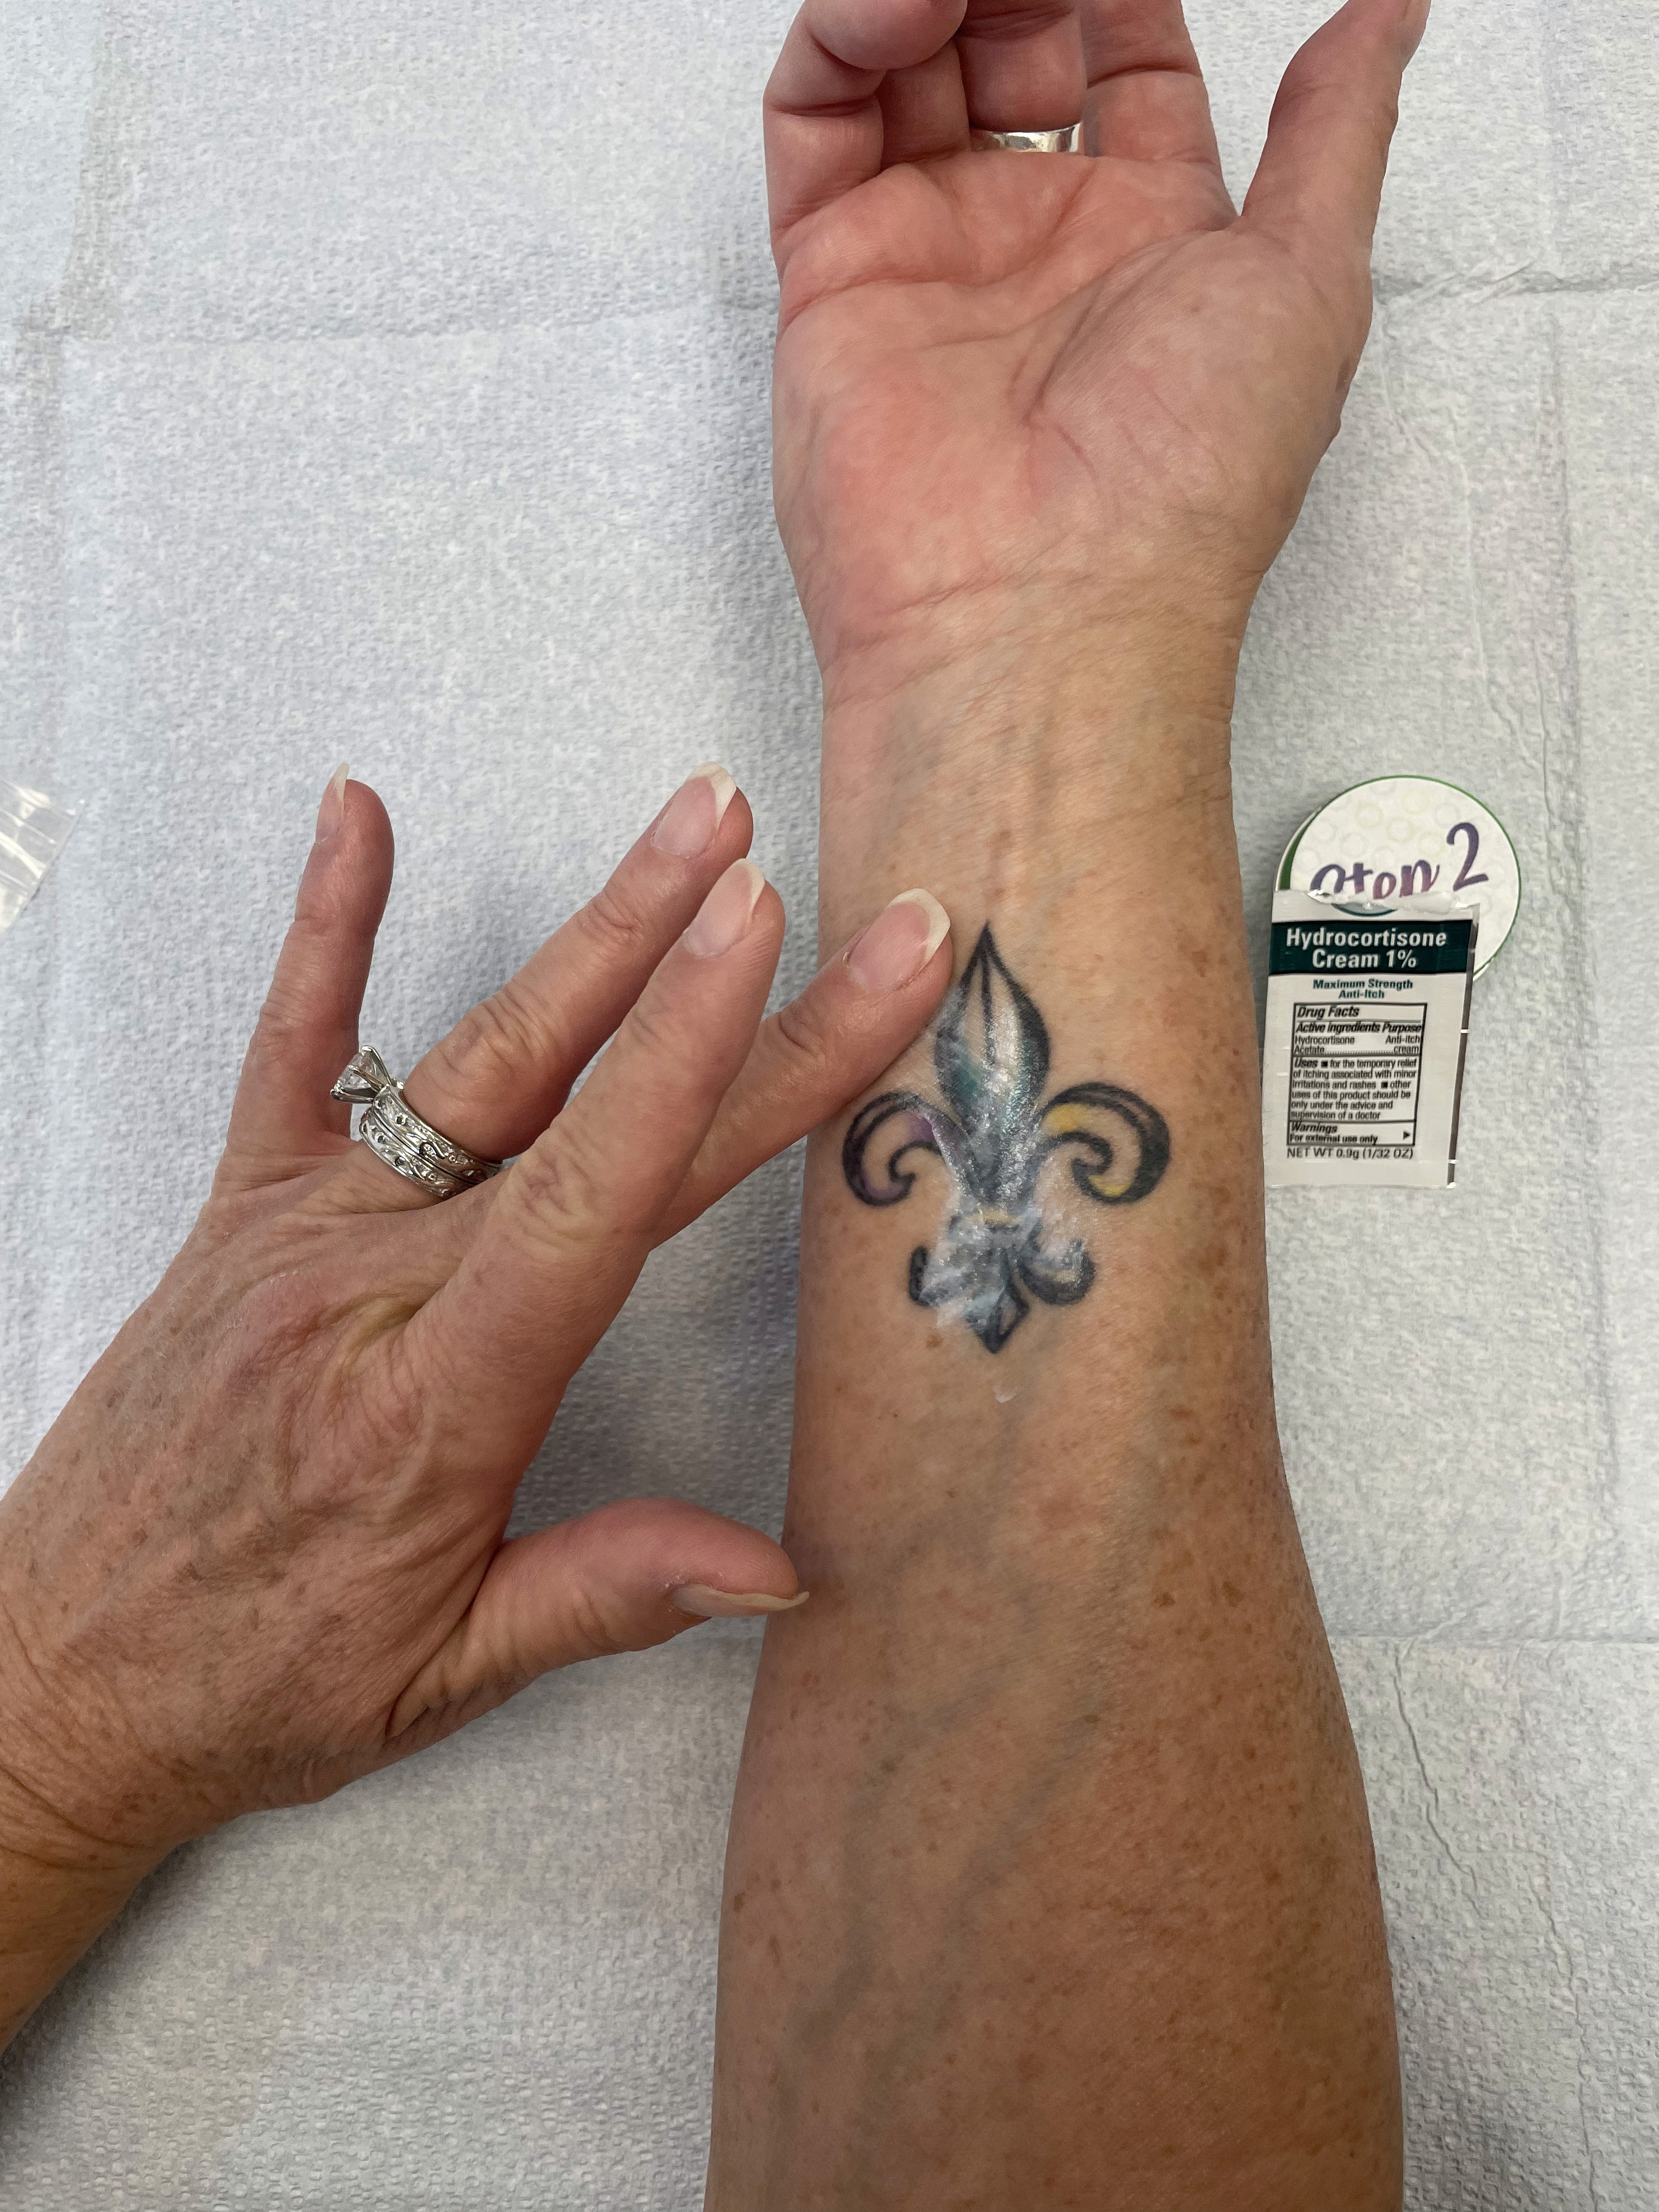
Daily Care Protocol:
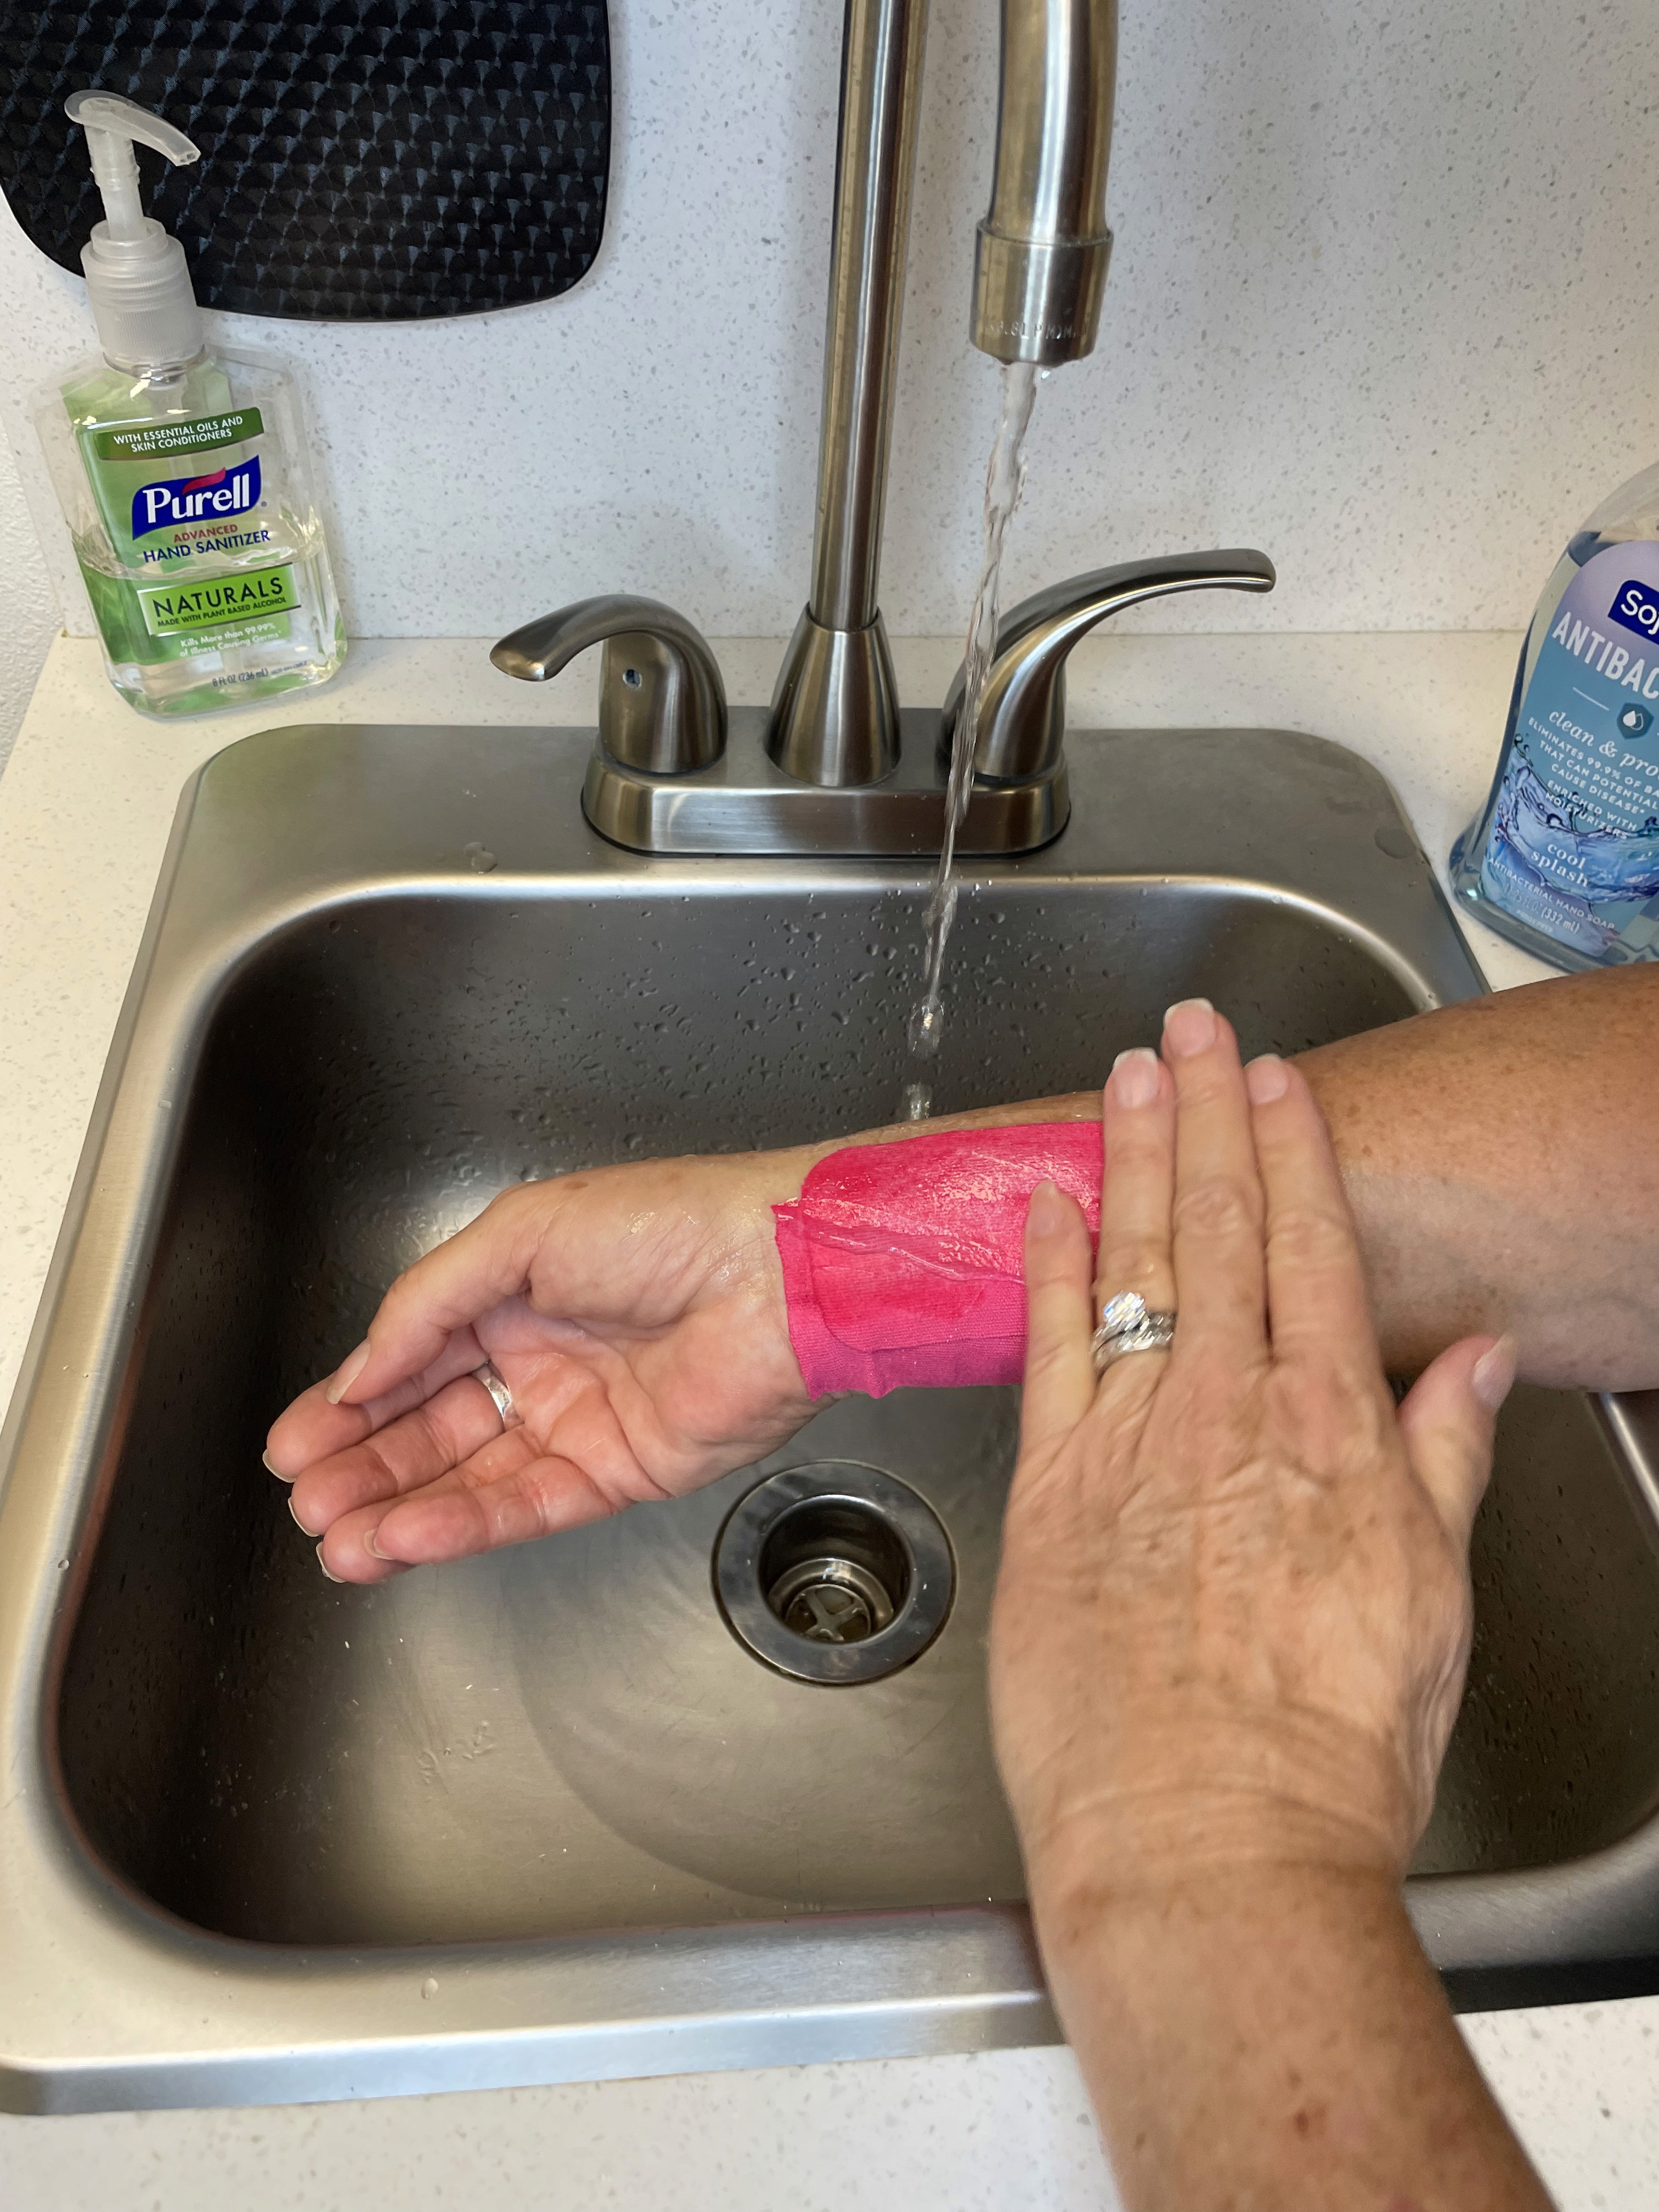
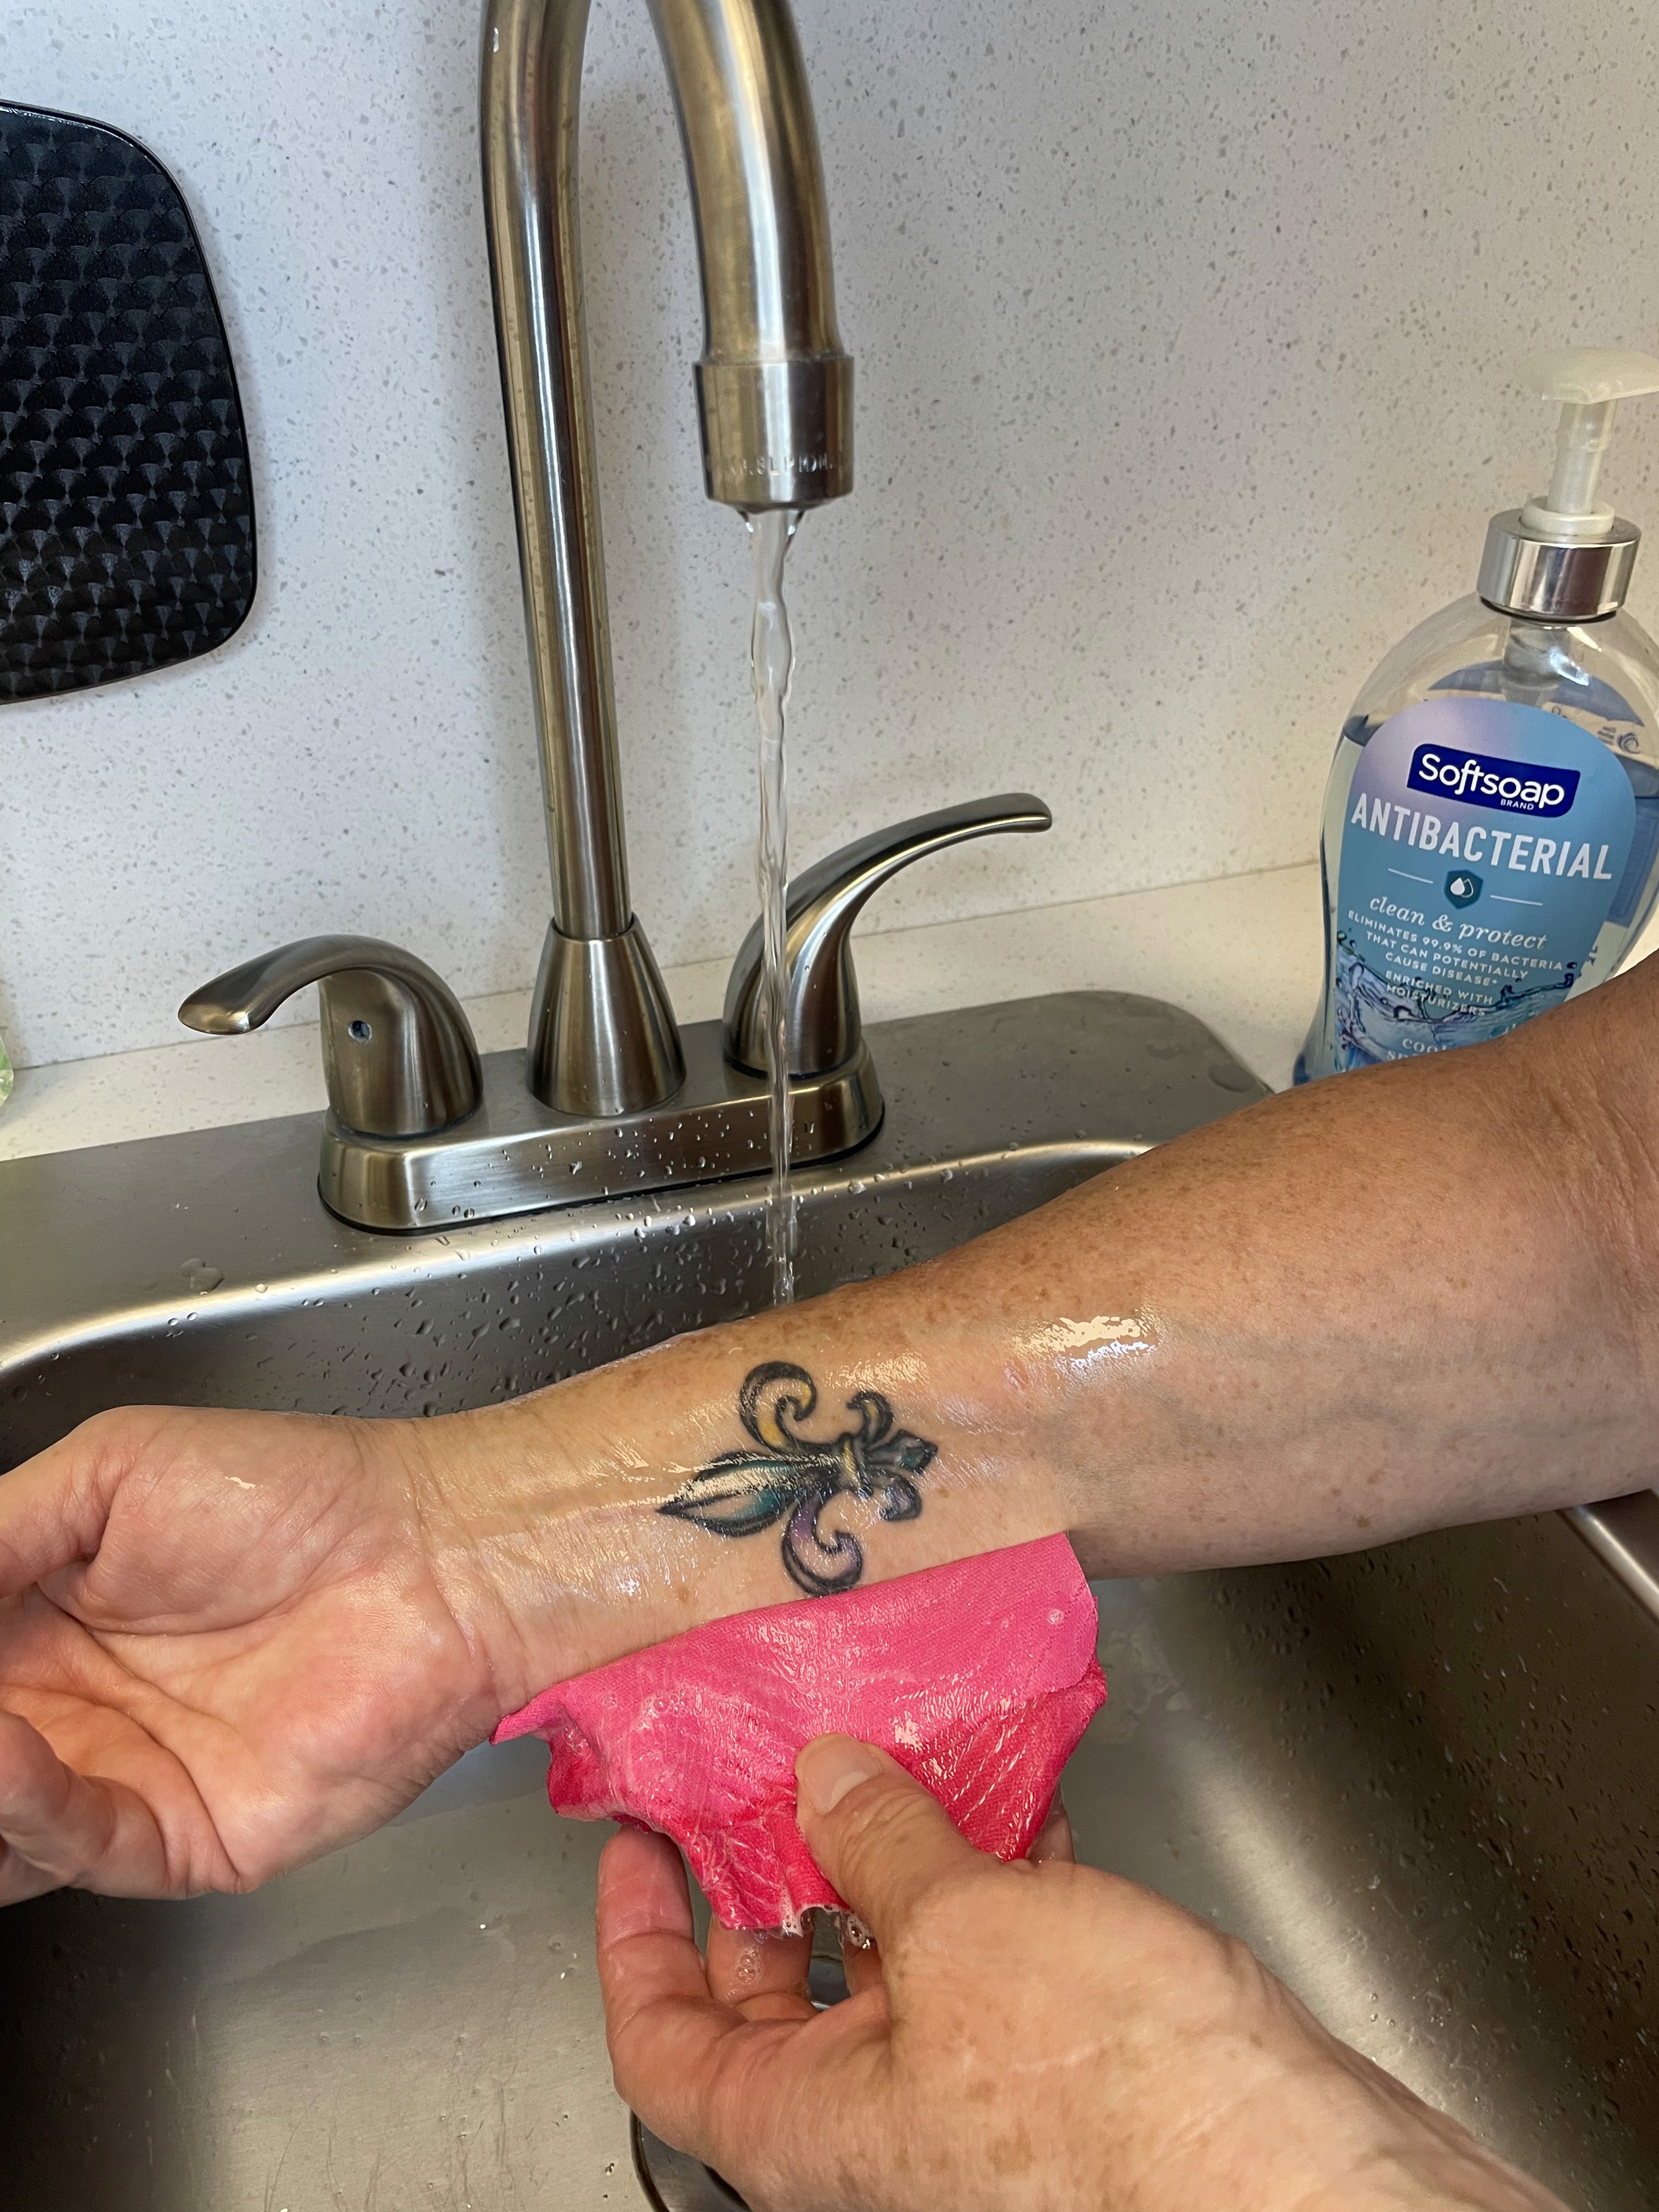
Cleaning: Next day after treatment, with clean fingertips, carefully wash treated area with mild, fragrance-free antibacterial soap
Drying: Immediately pat or dab dry - DO NOT WIPE
Coverage: Cover with gauze immediately after drying
Continuous Coverage: Keep area covered with gauze at all times during crusting phase
What's Happening: Your skin is forming a crusting layer that contains the expelled ink. This layer typically sloughs off in 10-21 days. You'll literally see your tattoo leaving your body in this layer.
Phase 2: Healing & Protection (After Crusting Layer Has Sloughed Off)


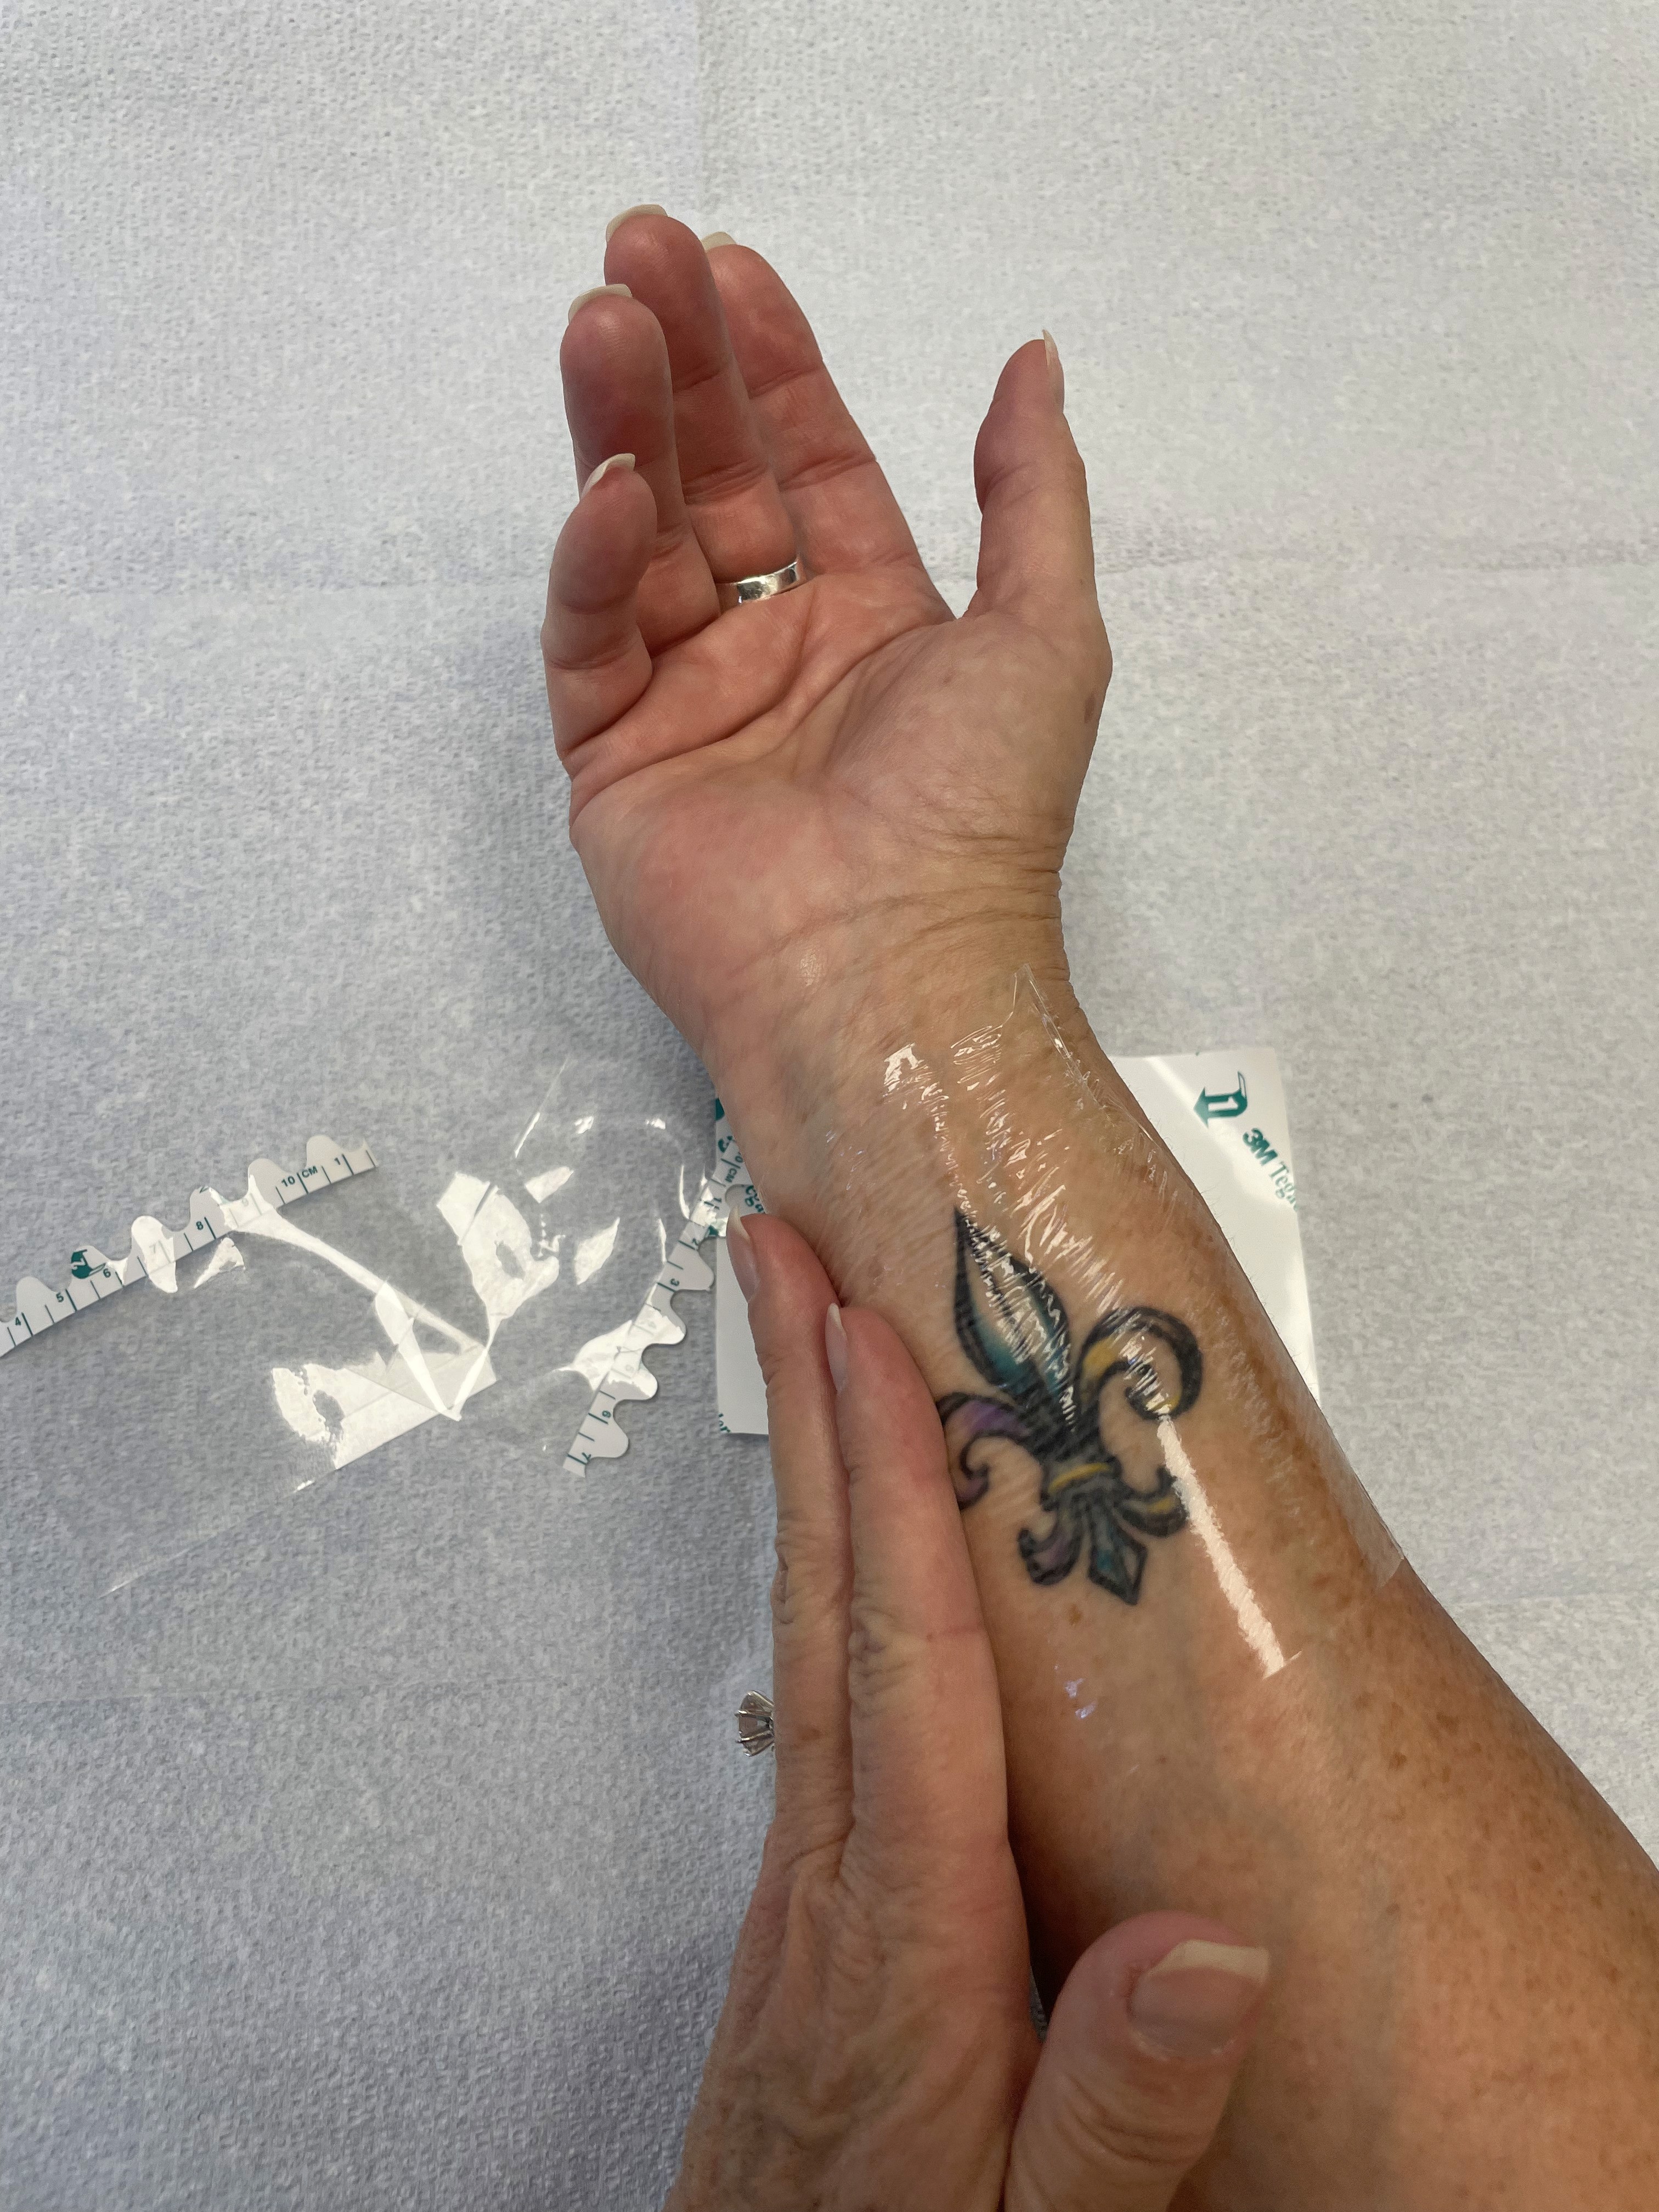
Alternate between hydration and Tegaderm protection (detailed schedule provided by your technician)
Continue all-day sun protection (keep covered or use 50+ SPF minimum)
Monthly progress photos (your technician reviews these with you)
Full healing: 3-4 months
Next treatment scheduled after complete healing (your technician determines exact timing)
Tattoo & Permanent Makeup Removal Aftercare Do's and Don'ts
Don'ts
Do's
ABSOLUTELY DO:
✓ Keep the treated area covered with dry gauze during the entire crusting phase
✓ Wash gently with clean fingertips and antibacterial soap daily
✓ Pat or dab dry immediately - never wipe
✓ Let crusting slough off naturally - patience creates perfection
✓ Take required progress photos on schedule
✓ Protect from ALL sun exposure - scarring prevention is critical
✓ Contact your technician immediately if anything concerns you
Do's
Don'ts
ABSOLUTELY DO:
✓ Keep the treated area covered with dry gauze during the entire crusting phase
✓ Wash gently with clean fingertips and antibacterial soap daily
✓ Pat or dab dry immediately - never wipe
✓ Let crusting slough off naturally - patience creates perfection
✓ Take required progress photos on schedule
✓ Protect from ALL sun exposure - scarring prevention is critical
✓ Contact your technician immediately if anything concerns you
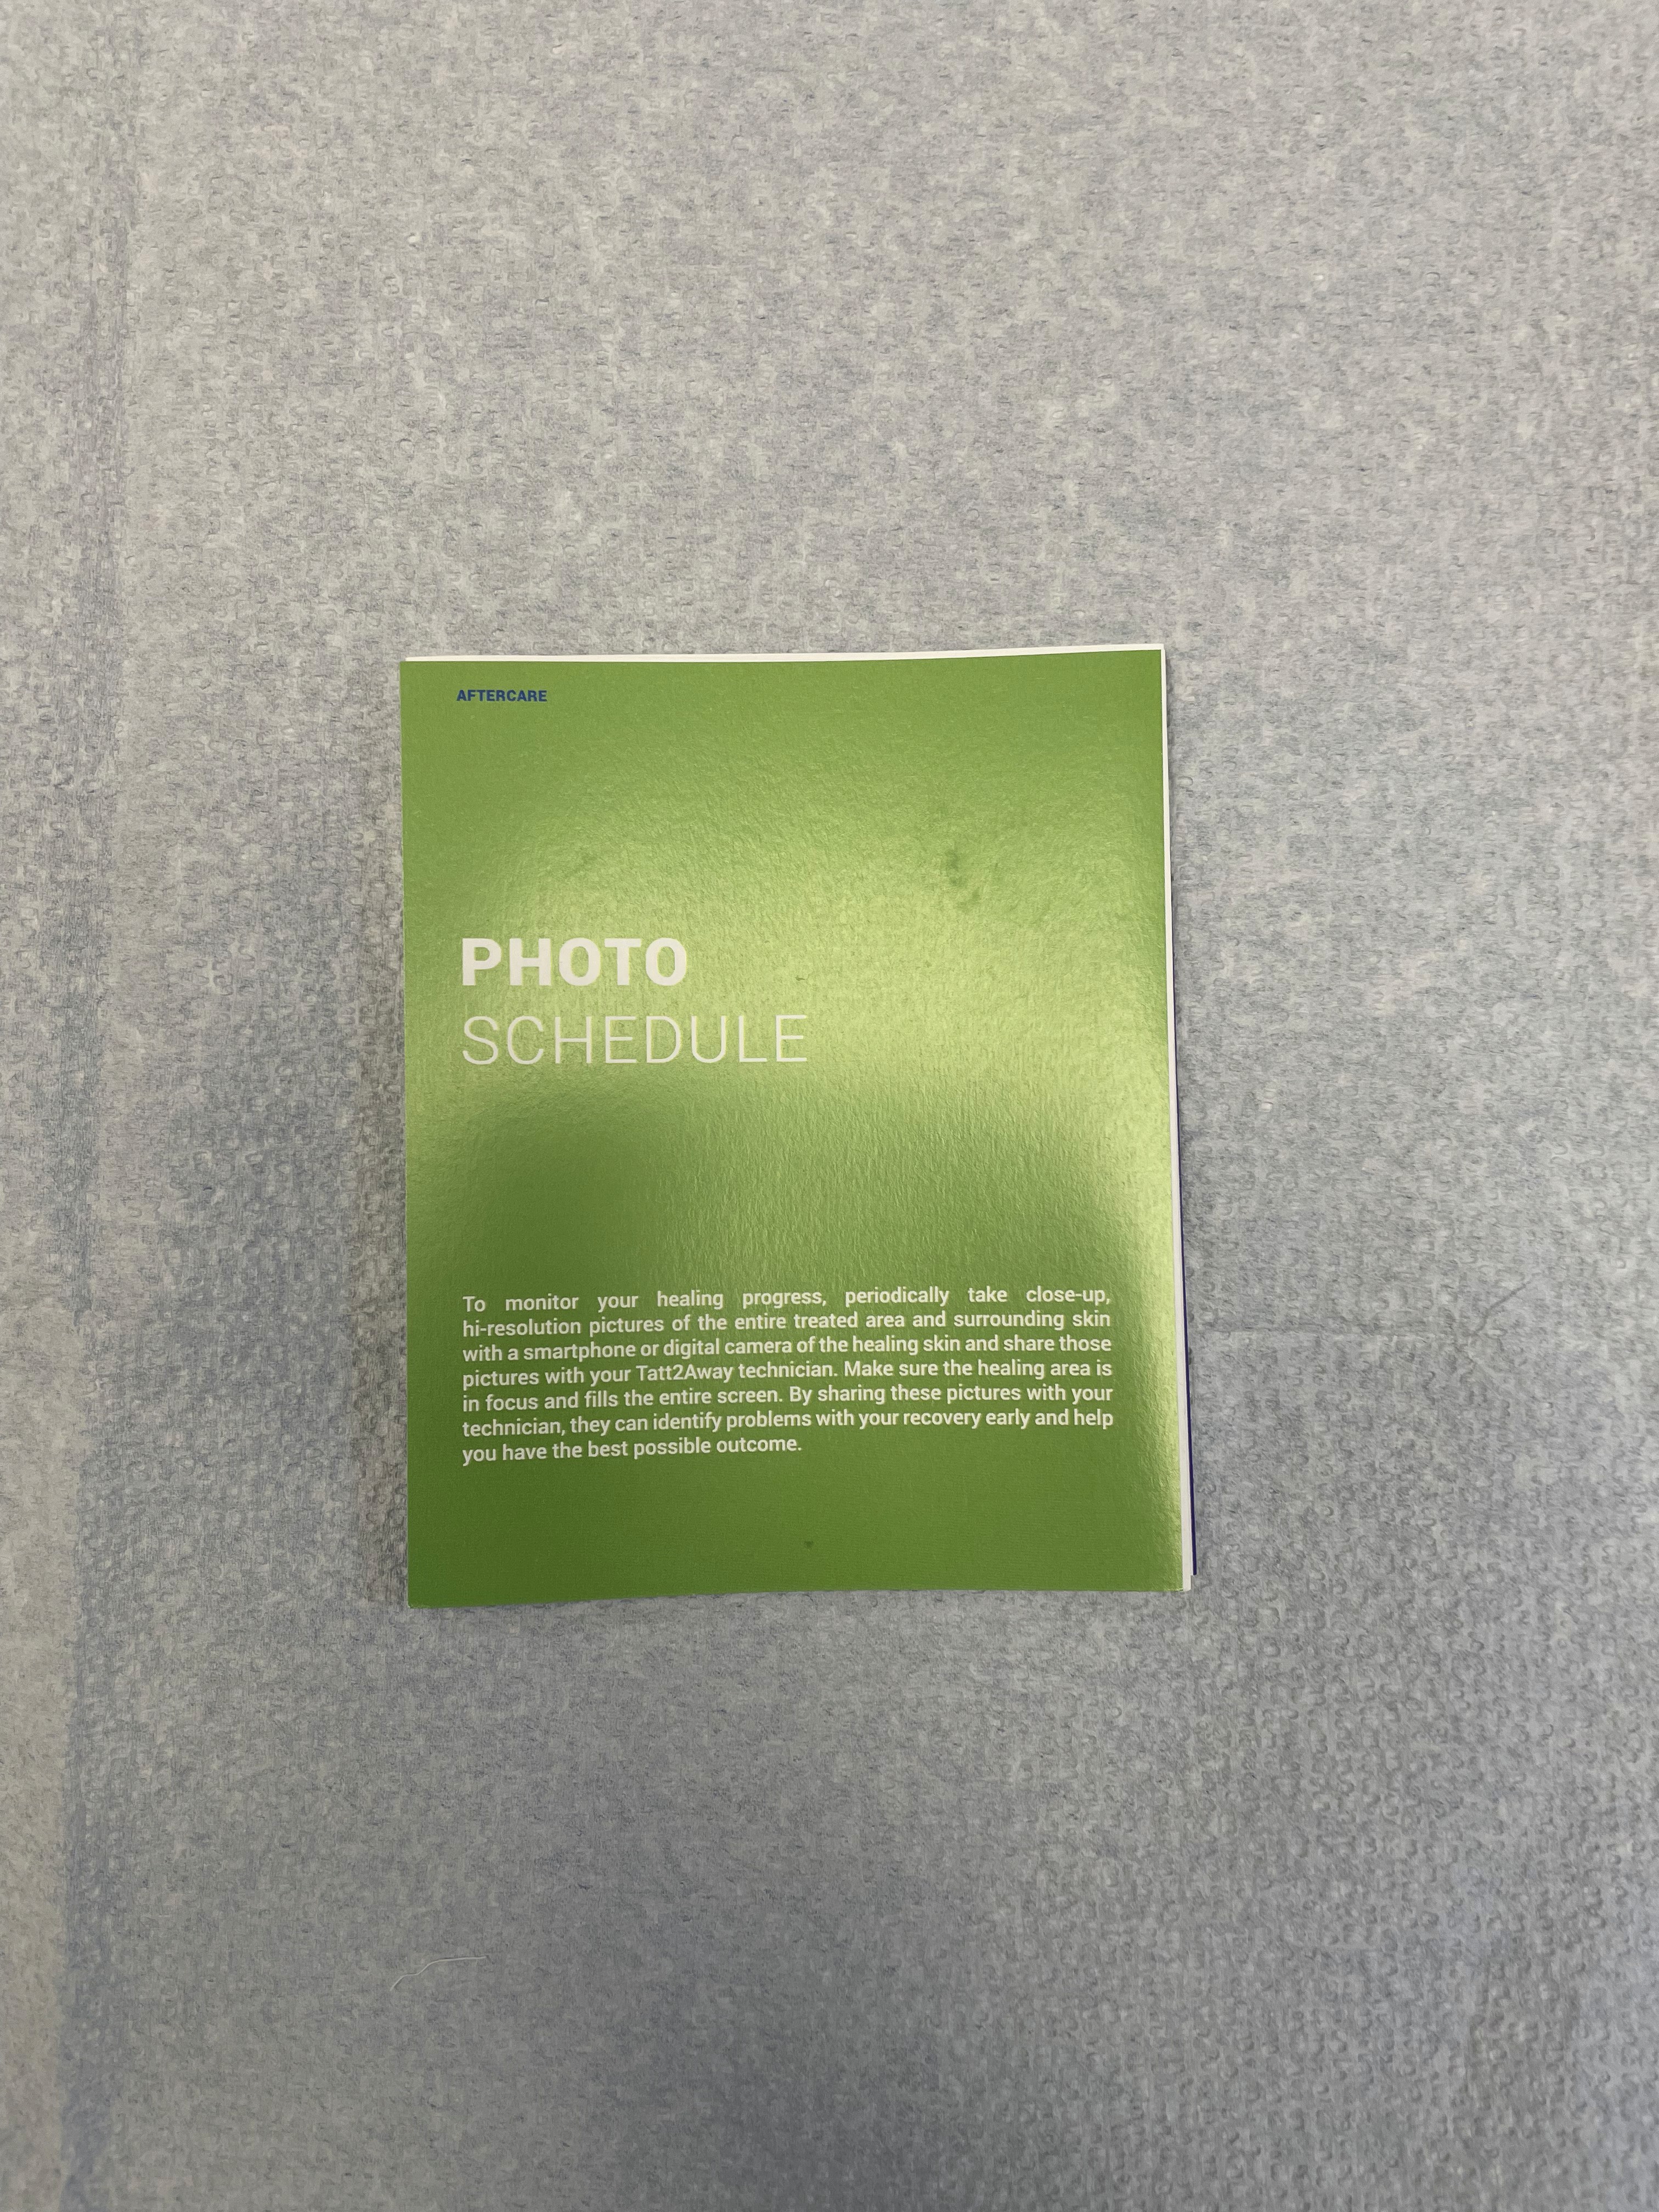
Photo Documentation Schedule
To monitor healing progress, take close-up, hi-resolution pictures of the entire treated area with surrounding skin. Ensure the area is in focus and fills the entire screen.
Required Photo Schedule:
2 Days Post-Treatment: Visual check for cleanliness, dryness, and absence of infection
7 Days Post-Treatment: Ensure treatment area is healing properly
Weekly Updates: During crusting phase to identify potential problems early
After Crusting Layer Sloughs Off: Monthly updates instead of weekly to check dermal maturation
If Something Unexpected Occurs: Immediate photos to identify problems early
Required Photo Schedule:
2 Days Post-Treatment: Visual check for cleanliness, dryness, and absence of infection
7 Days Post-Treatment: Ensure treatment area is healing properly
Weekly Updates: During crusting phase to identify potential problems early
After Scabs Fall Off: Monthly updates instead of weekly to check dermal maturation
If Something Unexpected Occurs: Immediate photos to identify problems early
Optimizing Your Results
Remember:
Follow every step exactly - no shortcuts, no substitutions, unless instructed by your technician to do otherwise
Take your photos on schedule - we're here to help catch issues early, and you'll want to look back on your transformation journey
Keep gauze on during the crusting phase - protection is essential
Let the crusting layer slough off naturally - patience creates perfection
Protect from sun always - scarring prevention is critical
The ink is leaving your body naturally. Trust the process. Follow the protocol. Watch for the results.
Remember:
Follow every step exactly - no shortcuts, no substitutions, unless instructed by your technician to do otherwise
Take your photos on schedule - we're here to help catch issues early, and you'll want to look back on your transformation journey
Keep gauze on during crusting - protection is essential
Let crusting layer slough off naturally - patience creates perfection
Protect from sun always - scarring prevention is critical
The ink is leaving your body naturally. Trust the process. Follow the protocol. Watch for the results.
When to Contact Your Provider
Contact your inkOUT™ technician immediately if you notice:
Increasing pain or discomfort
Spreading redness beyond the treated area
Excessive swelling
Pus or discharge
Foul odor
Fever
Any unexpected changes that concern you
Your technician is your partner in this journey. Don't hesitate to send photos or ask questions - catching concerns early makes all the difference.
What Happens If Aftercare Isn't Followed Properly?
CAUTION: Failure to follow these post-treatment instructions will likely reduce the effectiveness of the treatment and potentially cause scarring. Final results are not guaranteed and can only be determined once healing is complete. Healing can take several months.
Examples of improper aftercare include: picking the crusting layer, sun exposure, getting the area wet too early.
While we provide comprehensive guidance and support, following aftercare guidelines is ultimately your responsibility for achieving optimal results
CAUTION: Failure to follow these post-treatment instructions will likely reduce the effectiveness of the treatment and potentially cause scarring. Final results are not guaranteed and can only be determined once healing is complete. Healing can take several months.
Examples of improper aftercare include: picking the crusting layer, sun exposure, getting the area wet too early.
While we provide comprehensive guidance and support, following aftercare guidelines is ultimately your responsibility for achieving optimal results.
Your Success Is in Your Hands
The next 4 weeks determine your results. When in doubt, reach out.
Your technician is your primary guidance and support throughout your tattoo removal aftercare journey.
Questions? Concerns? Unexpected Changes?
Contact your inkOUT™ technician immediately. We're here for you every step of the healing journey.

Individual results may vary. Safe when performed by certified technicians following proper protocols and aftercare guidelines. Rejuvatek Aesthetics™ is a registered trademark.
All rights reserved. Rejuvatek Medical Inc © 2026.
Individual results may vary. Safe when performed by certified technicians following proper protocols and aftercare guidelines. Rejuvatek Aesthetics™ is a registered trademark.
All rights reserved. Rejuvatek Medical Inc © 2026.
Individual results may vary. Safe when performed by certified technicians following proper protocols and aftercare guidelines. Rejuvatek Aesthetics™ is a registered trademark.
All rights reserved. Rejuvatek Medical Inc © 2026.